


I love making yoghurt from scratch, and a Thermomix machine or thermo cooker just make is SO easy! It’s also incredibly economical, making it a great way to reduce your weekly grocery bill and also opt for organic ingredients. There are so many different thermo recipes available for both cow’s milk yoghurt and coconut yoghurt, but frankly I find their results either unreliable or they use milk powder which I’m not a fan of. My recipes are both work-every-time reliable, AND don’t contain milk powder! I do use kuzu (which you can buy it from us here!) - this makes our yoghurt extra thick and creamy with no need to ever strain and is incredibly good for our gut health, so it’s got the double win.
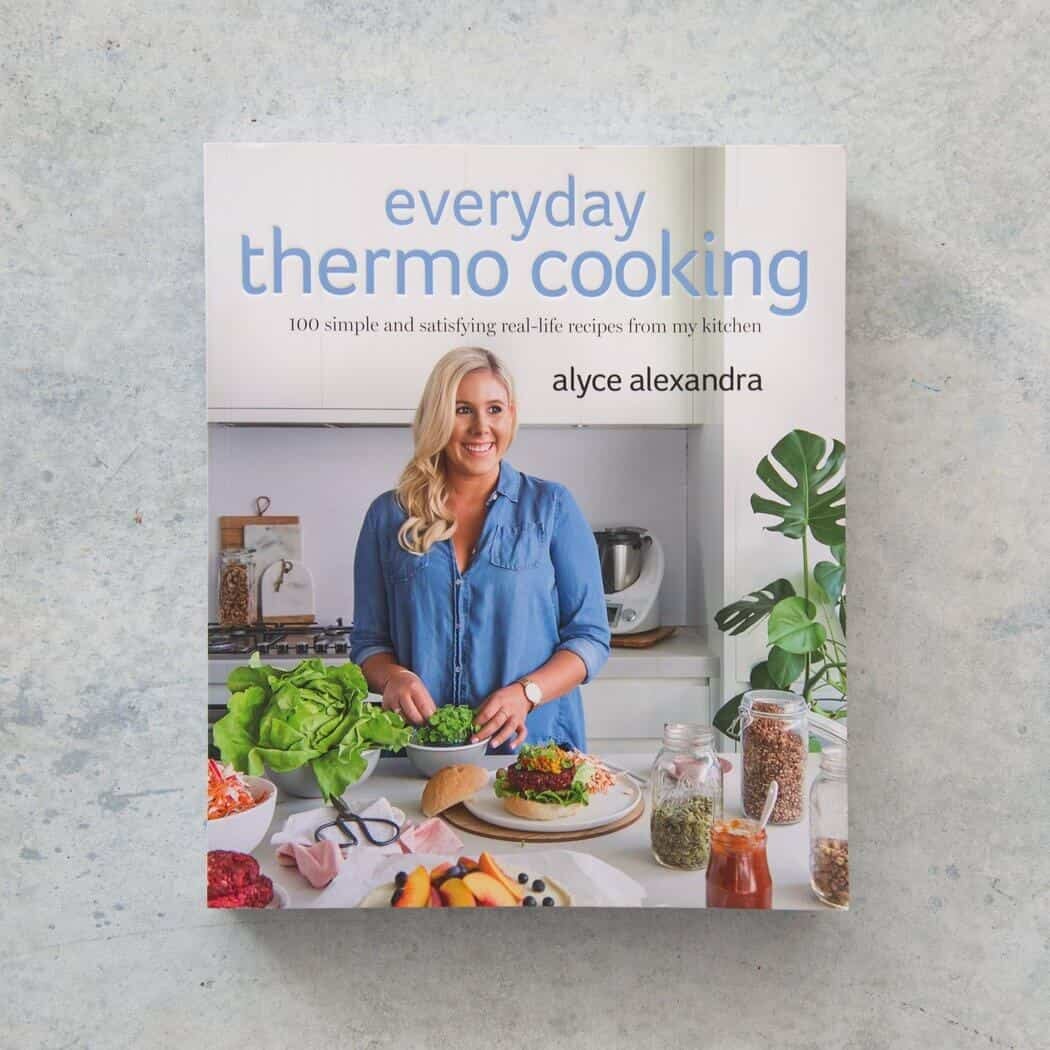
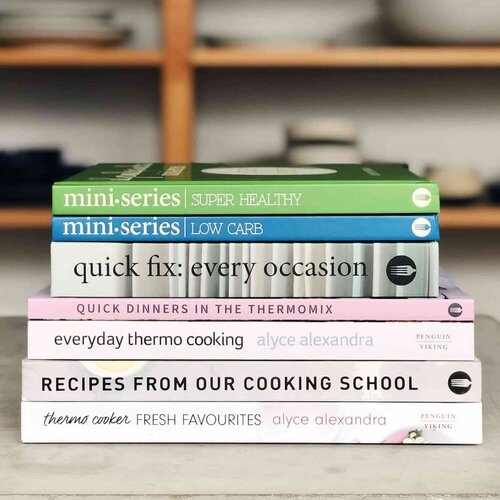
First, make up your yoghurt mixture - either our dairy-free coconut yoghurt in Everyday Thermo Cooking (page 24, steps 1 - 4) or our super-thick cow’s milk yoghurt in Fresh Favourites (page 59, steps 1 - 5). If making pot-set yoghurt using our super-thick cows milk recipe, I’d scale down the recipe to 1.3L of milk, 30g kuzu and 60g yoghurt and follow the exact same method. If making a single big batch, go ahead and make the full recipe.
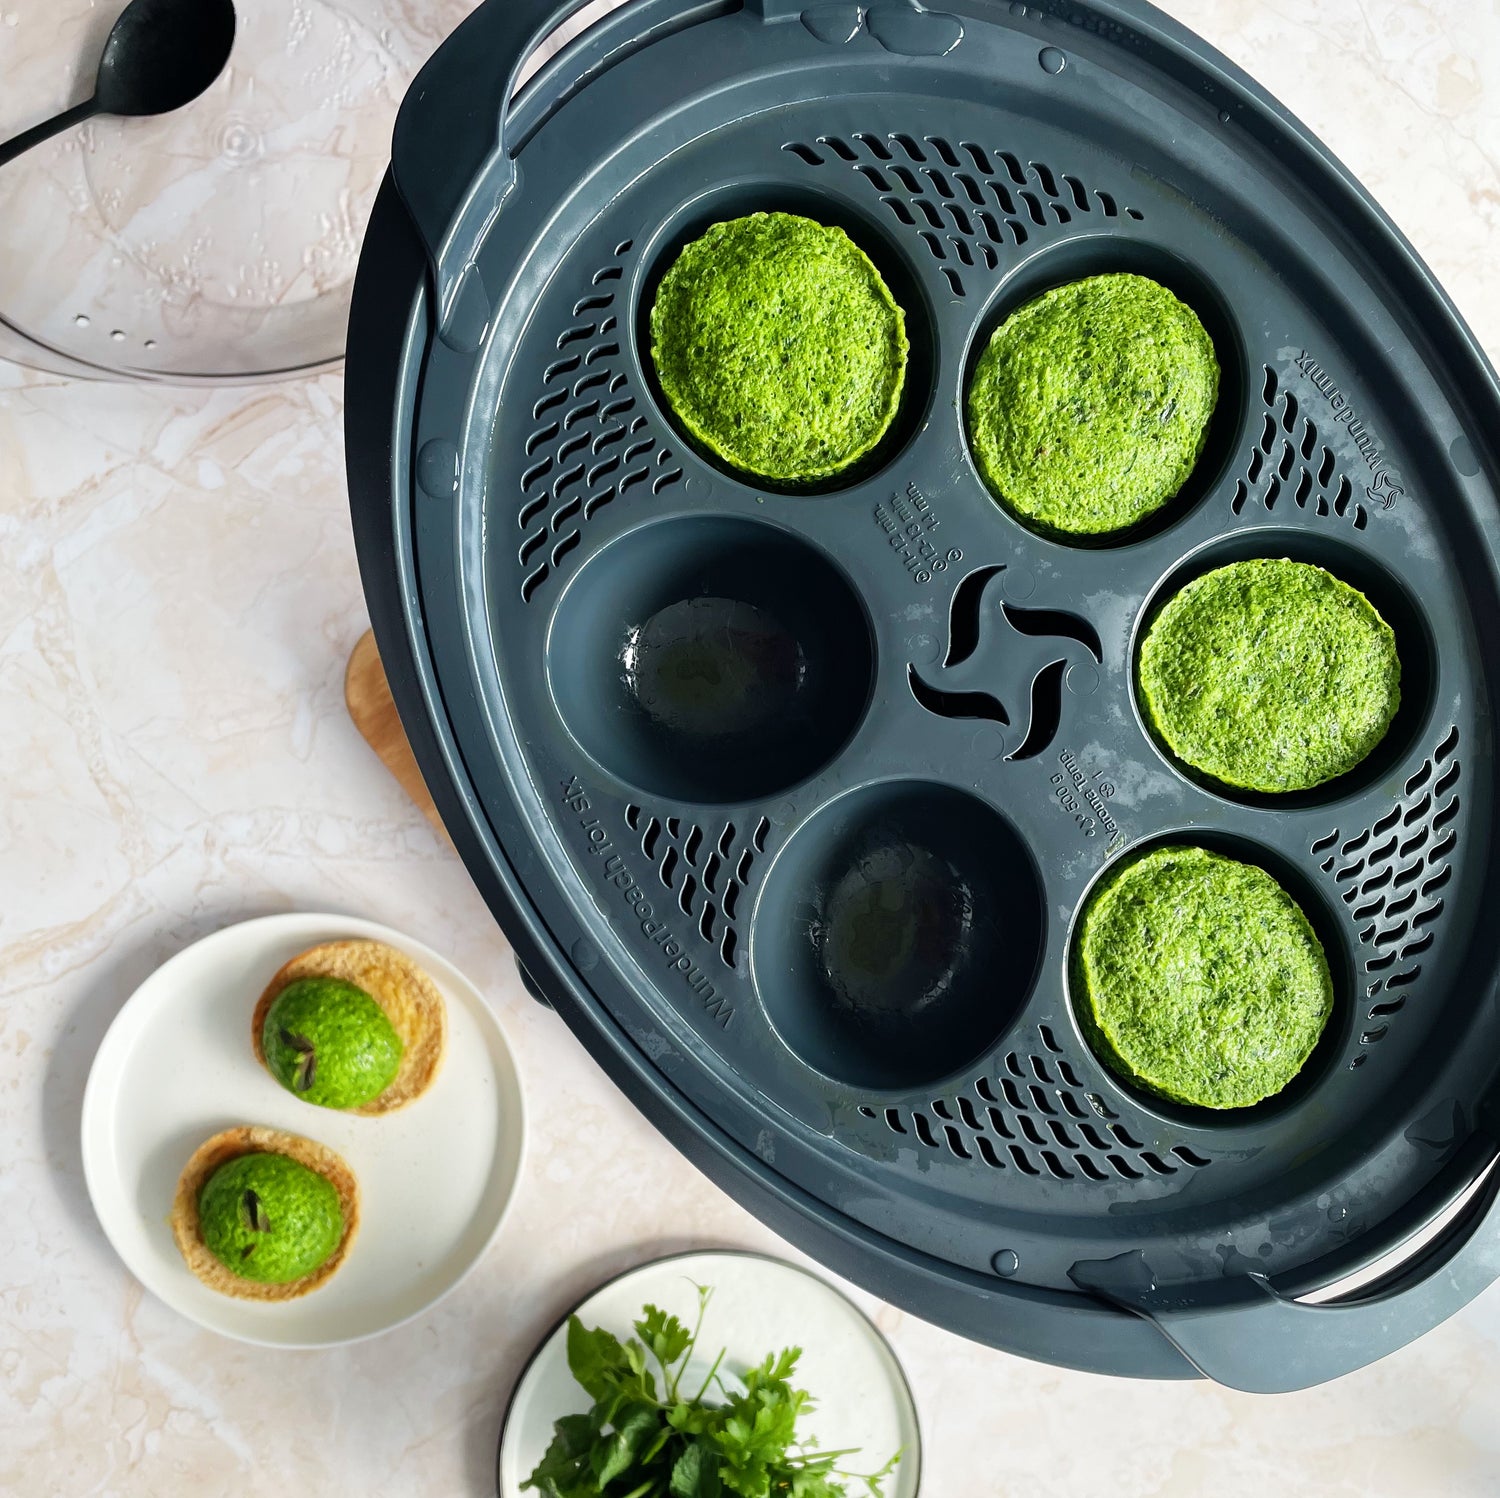
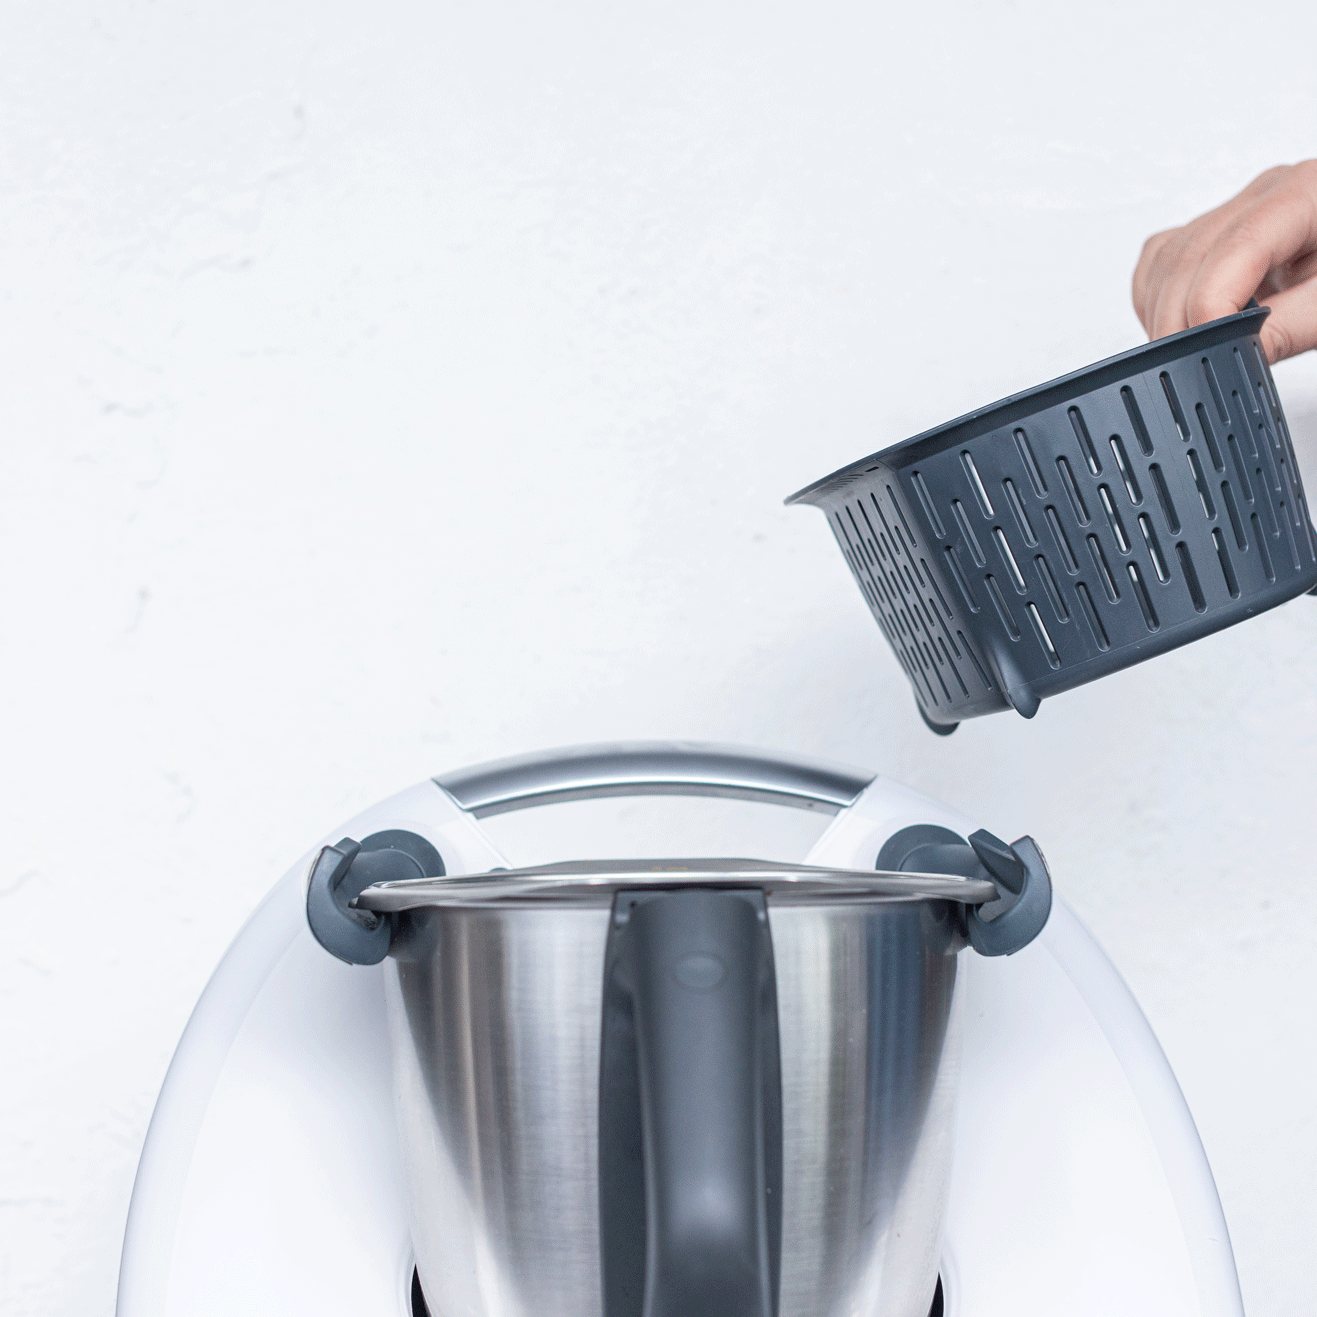
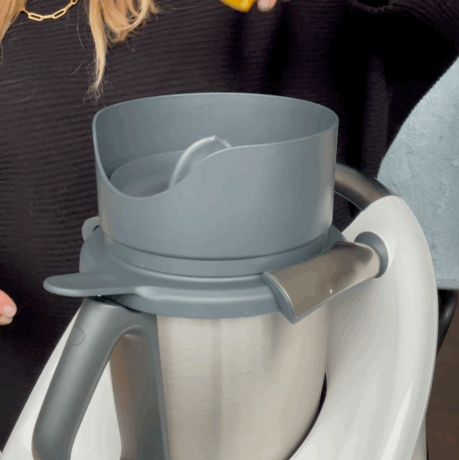
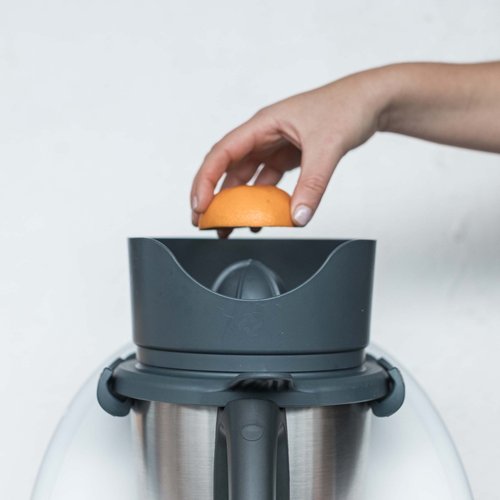
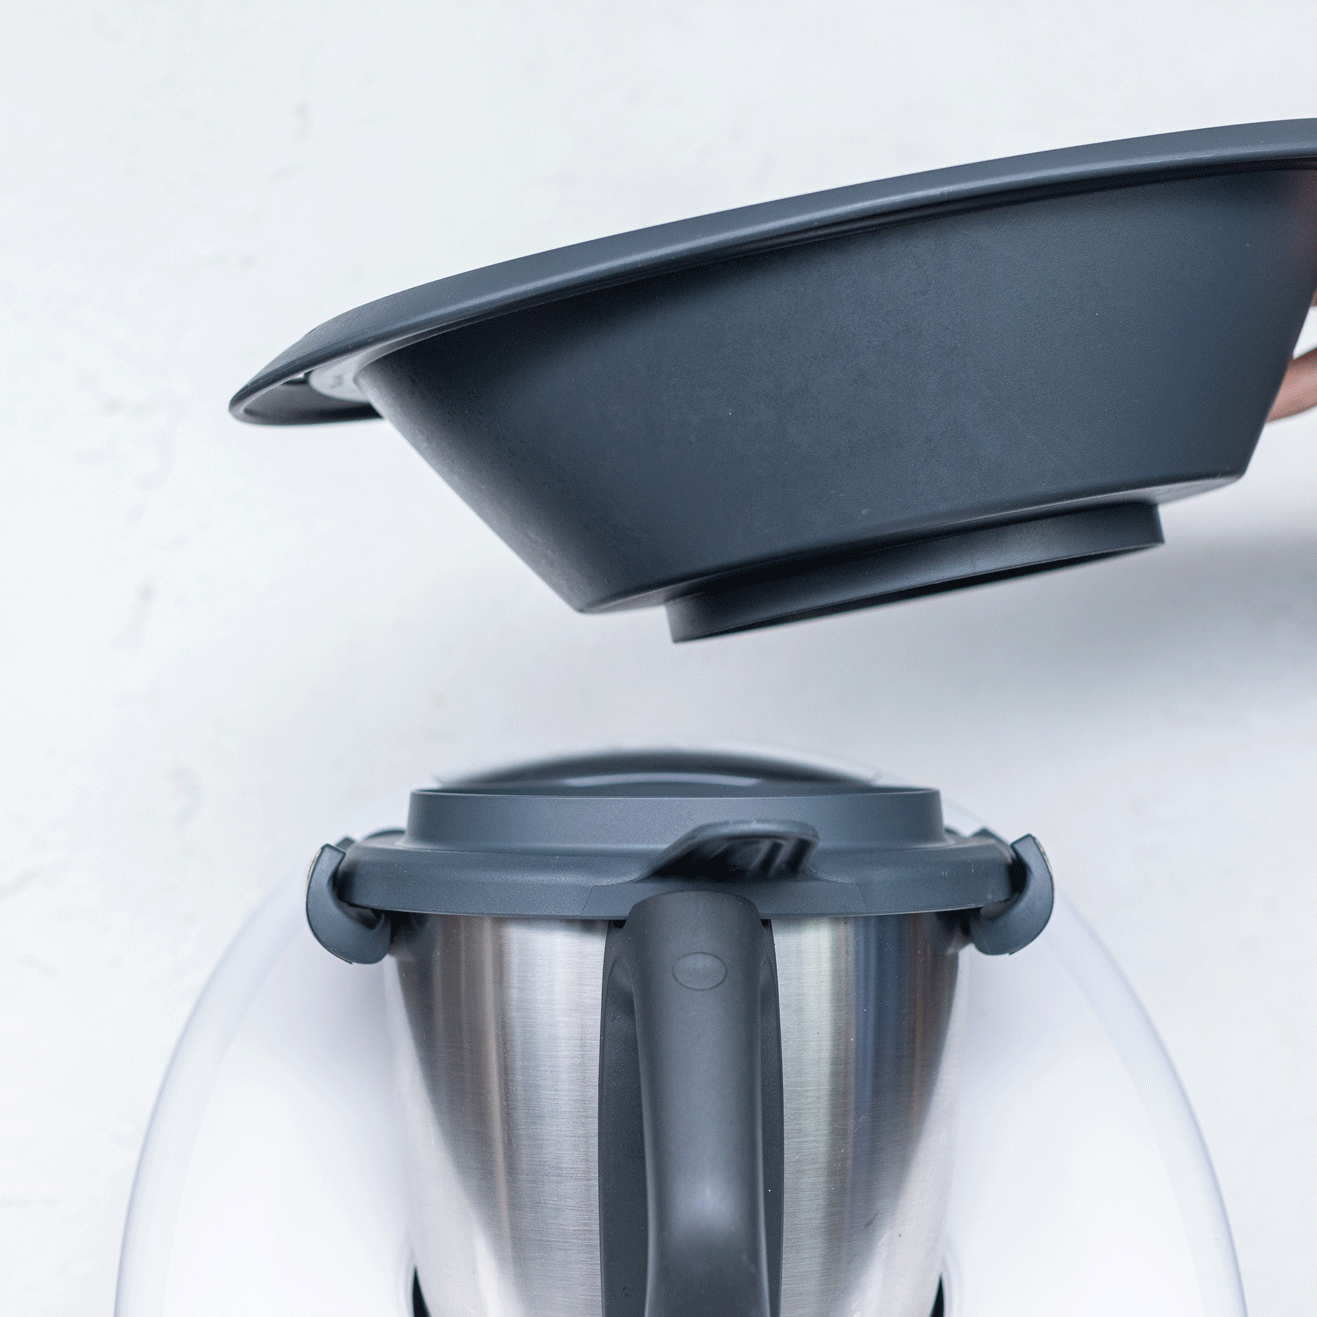
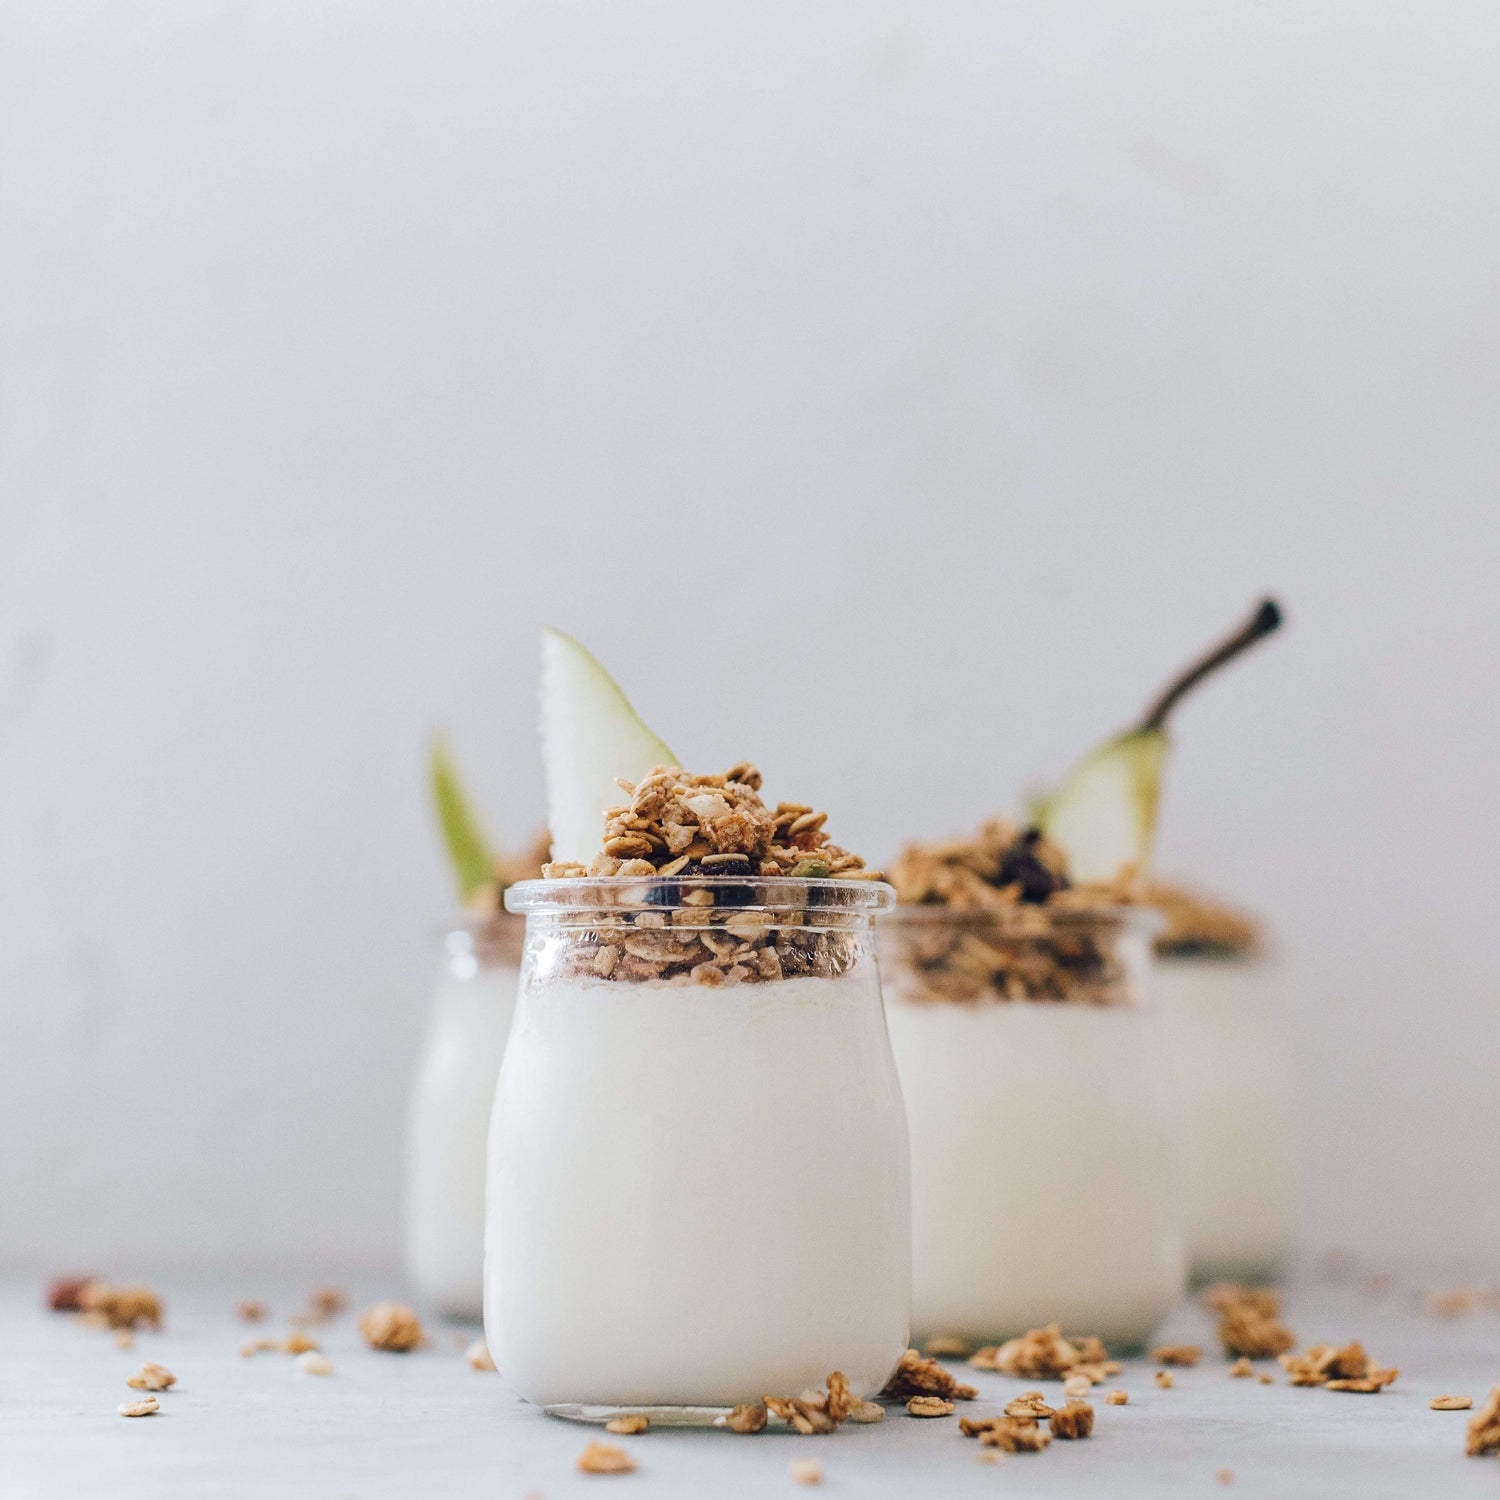
Now you can either make one big batch of yoghurt, or you can make individual pot-set yoghurt jars!
Pot Set Yoghurts:
-
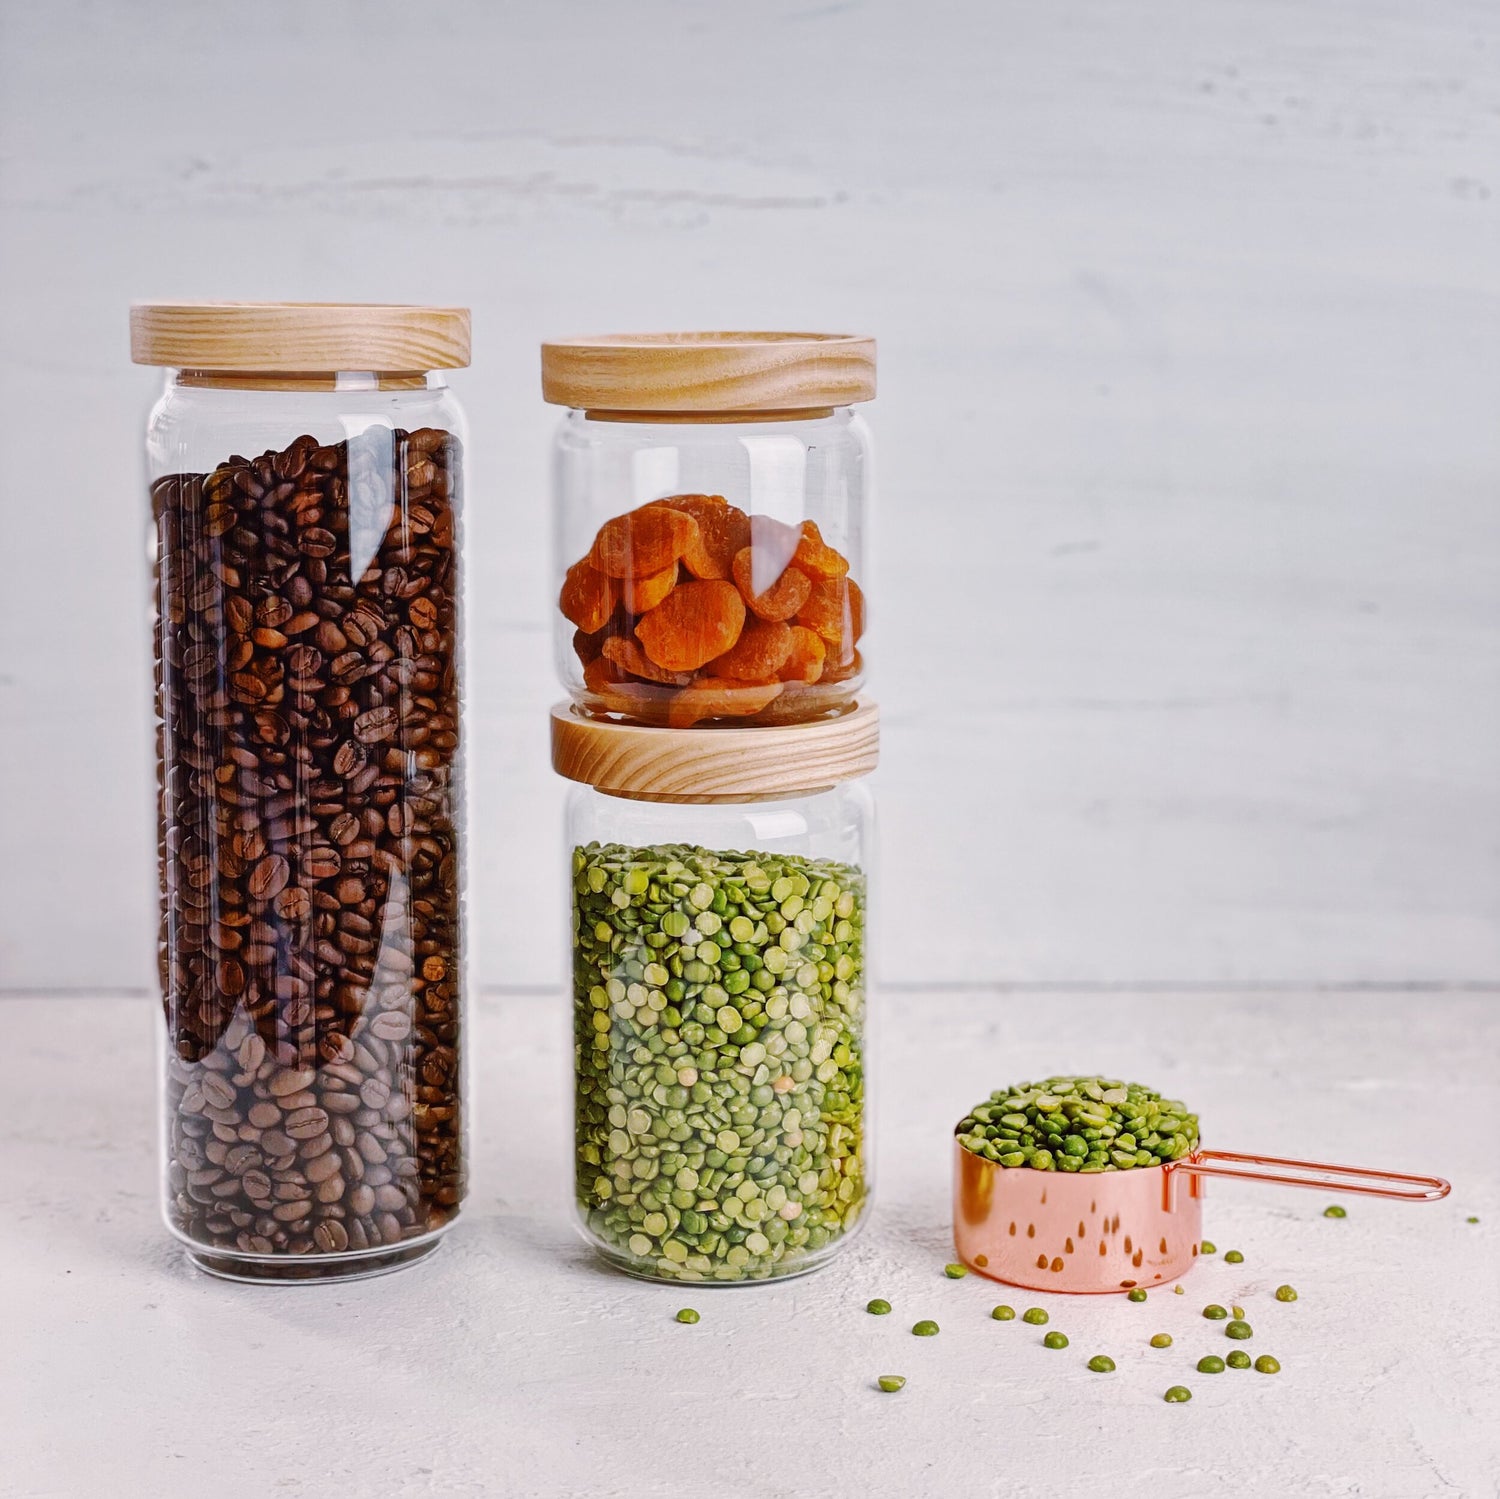
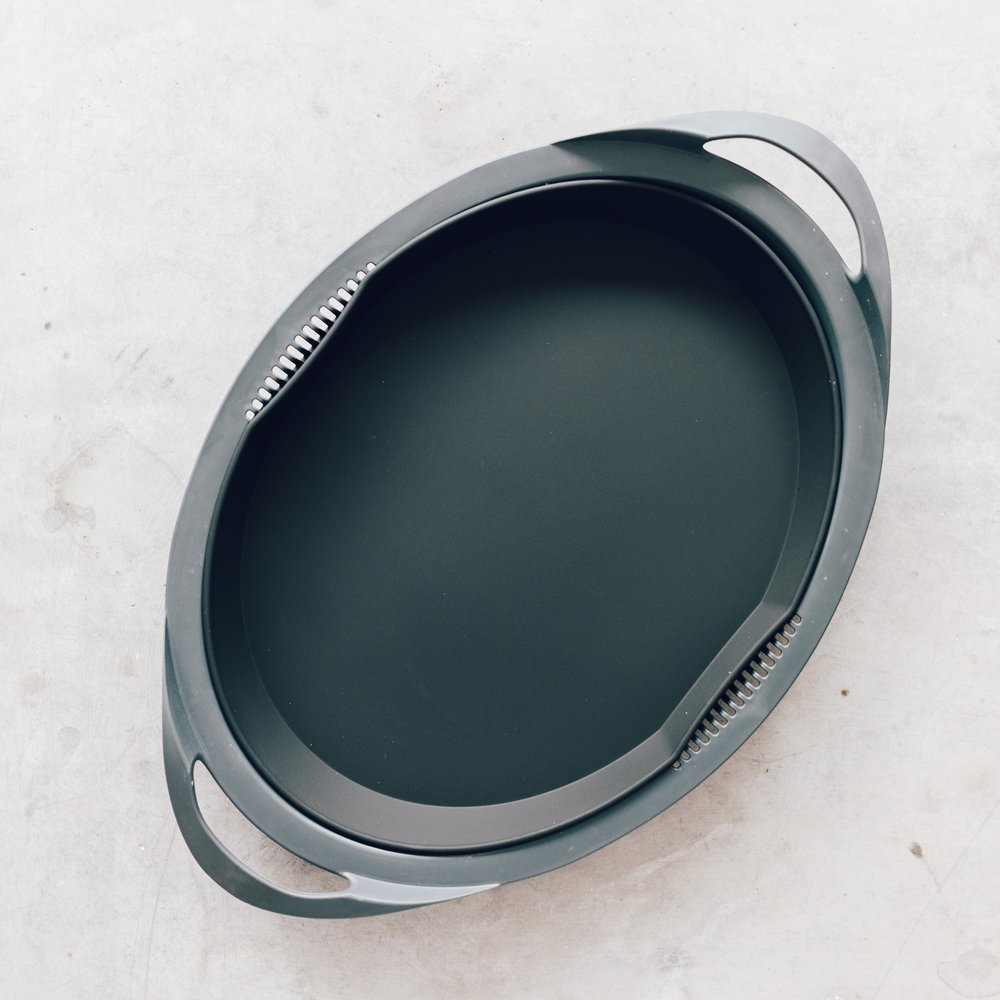
Pour your yoghurt mixture into glass pots with lids (these are the ones we use). For the coconut yoghurt you’ll need 7 jars and for the cows milk recipe you’ll need 10 jars.
-
Snap lids firmly onto glass pots and arrange in 4.7L stainless steel food warmer. Pour over approx. 1L of boiling water and place food warmer lid on. Allow to stand, undisturbed, for 24 hours. If you have a TM6, you can place your pots in the Varoma and use the fermentation mode instead. However, you’ll only fit in 7 jars instead of 10 and your Thermomix machine will be out of action for 24 hours which often turns out to be really annoying!
-
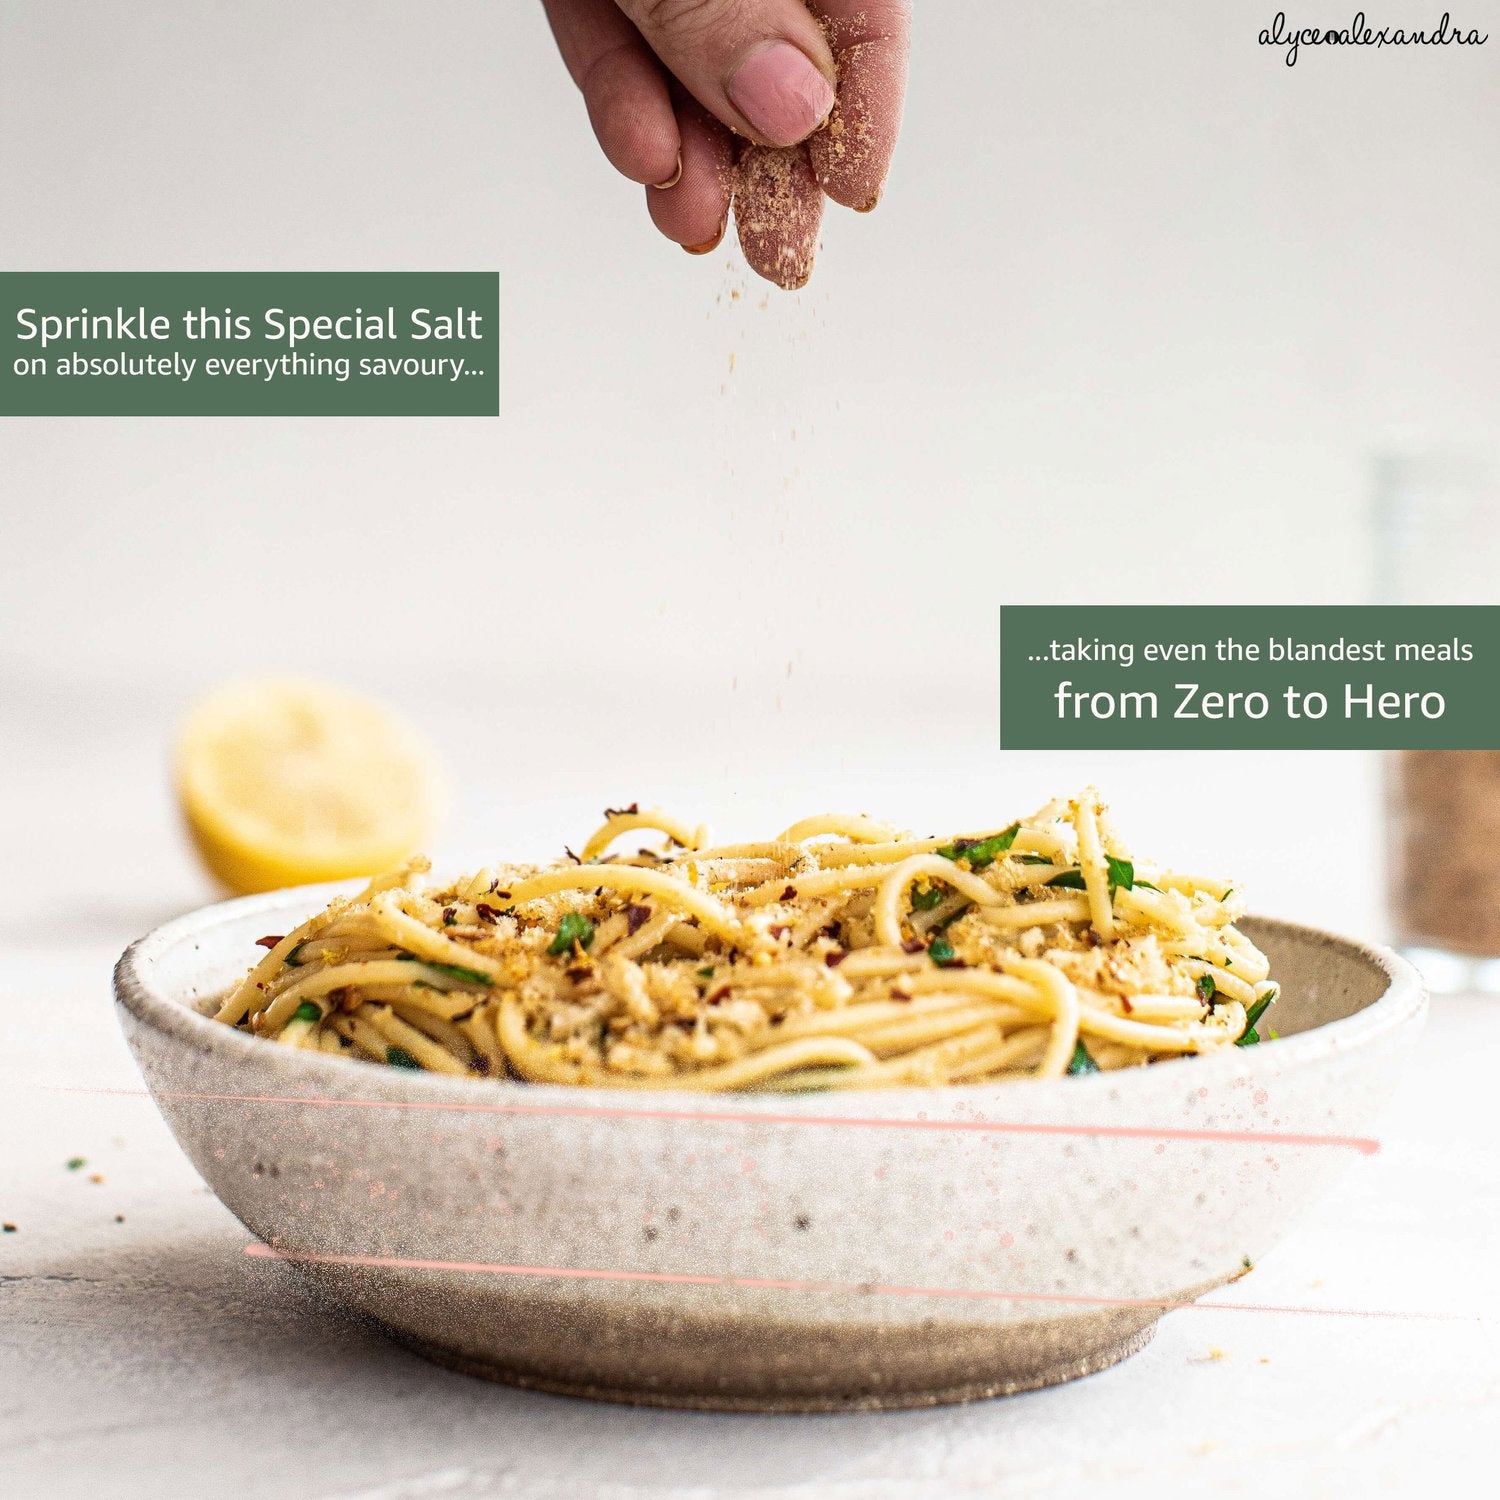
Once incubated, transfer glass pots to fridge for minimum 24 hours - yoghurt will continue to thicken as it cools. Enjoy! At this stage you can top with a fruit coulis to flavour (simply cook down fruit and a little sweetener until soft).

Single Big Batch:
-
Fill a 2.2L or 4.7L stainless steel food warmer with boiling water to preheat. Let stand for 10 minutes with the lid on. Pour out hot water.
-
Pour in your yoghurt mixture and immediately place to the lid on. Leave, undisturbed, for 24 hours.
-
Once incubated, transfer yoghurt to the fridge for a minimum 24 hours - yoghurt will continue to thicken as it cools. If you’ve got room for the whole food warmer in the fridge - great! But more likely you’ll need to decant it into a large jar or glass container (good news is this will free up your food warmer!).
Simple as that, as long as you’ve got the right equipment and recipes! We’ve also got a detailed video about making coconut yoghurt in the Thermomix or thermo cooker, which is also helpful for all yoghurt making (including cow’s milk!). Keep scrolling to watch it, and it in the meantime we’ve got all your essential yoghurt-making equipment listed in one convenient spot: