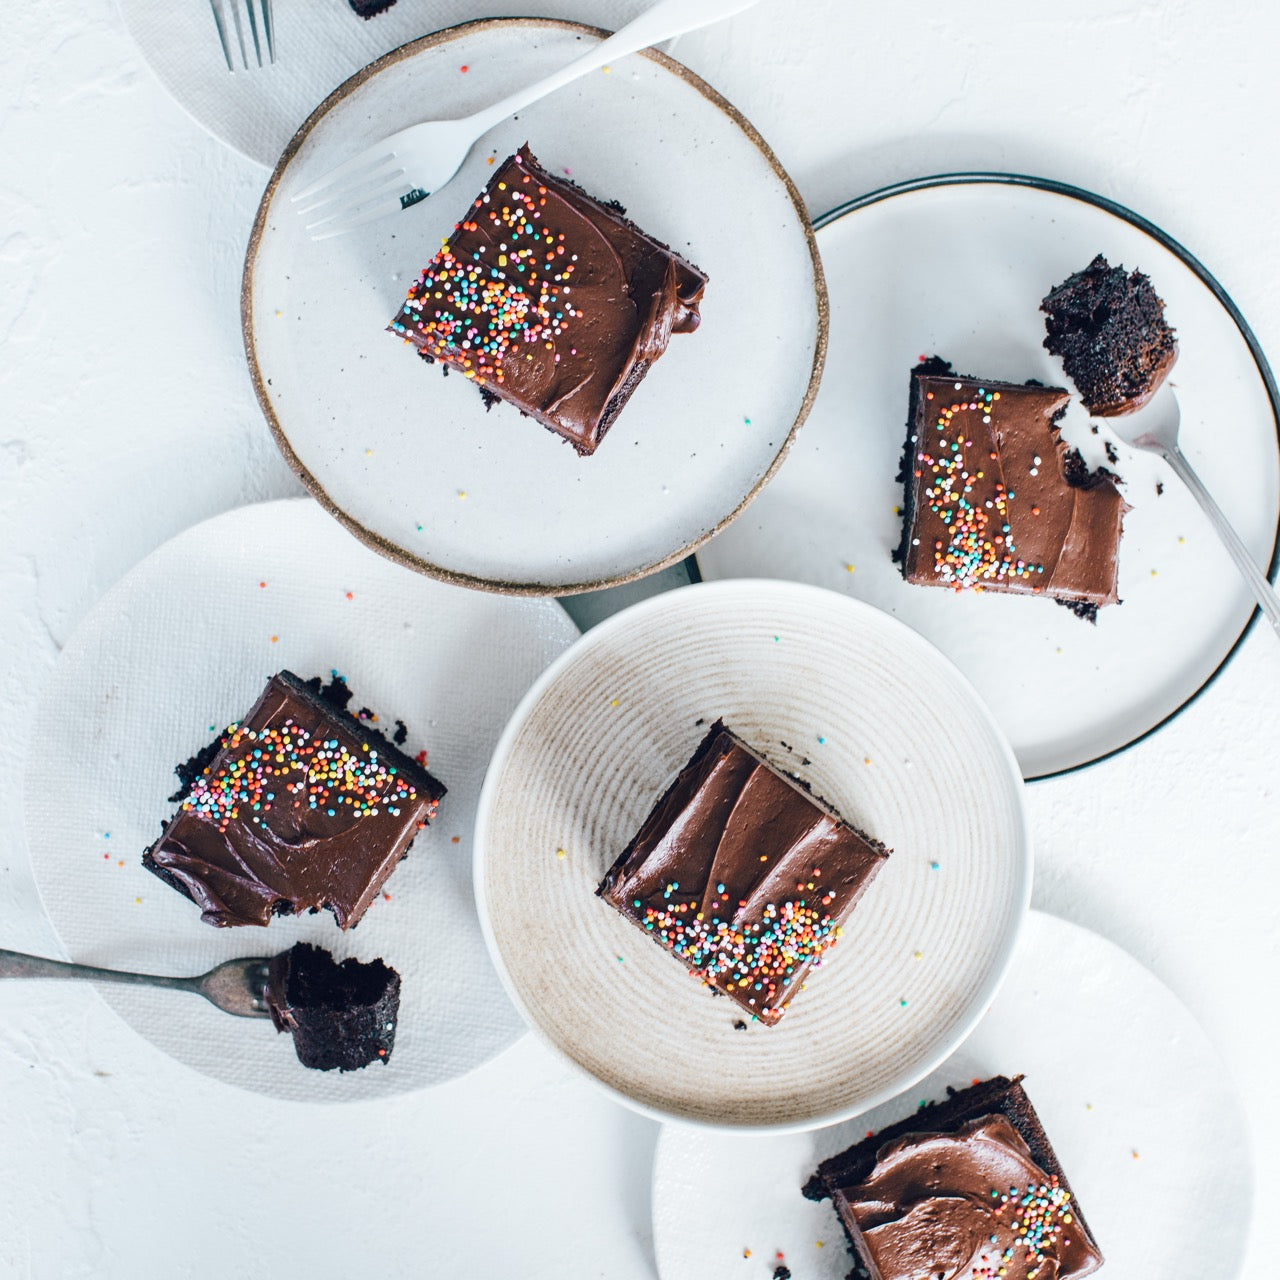


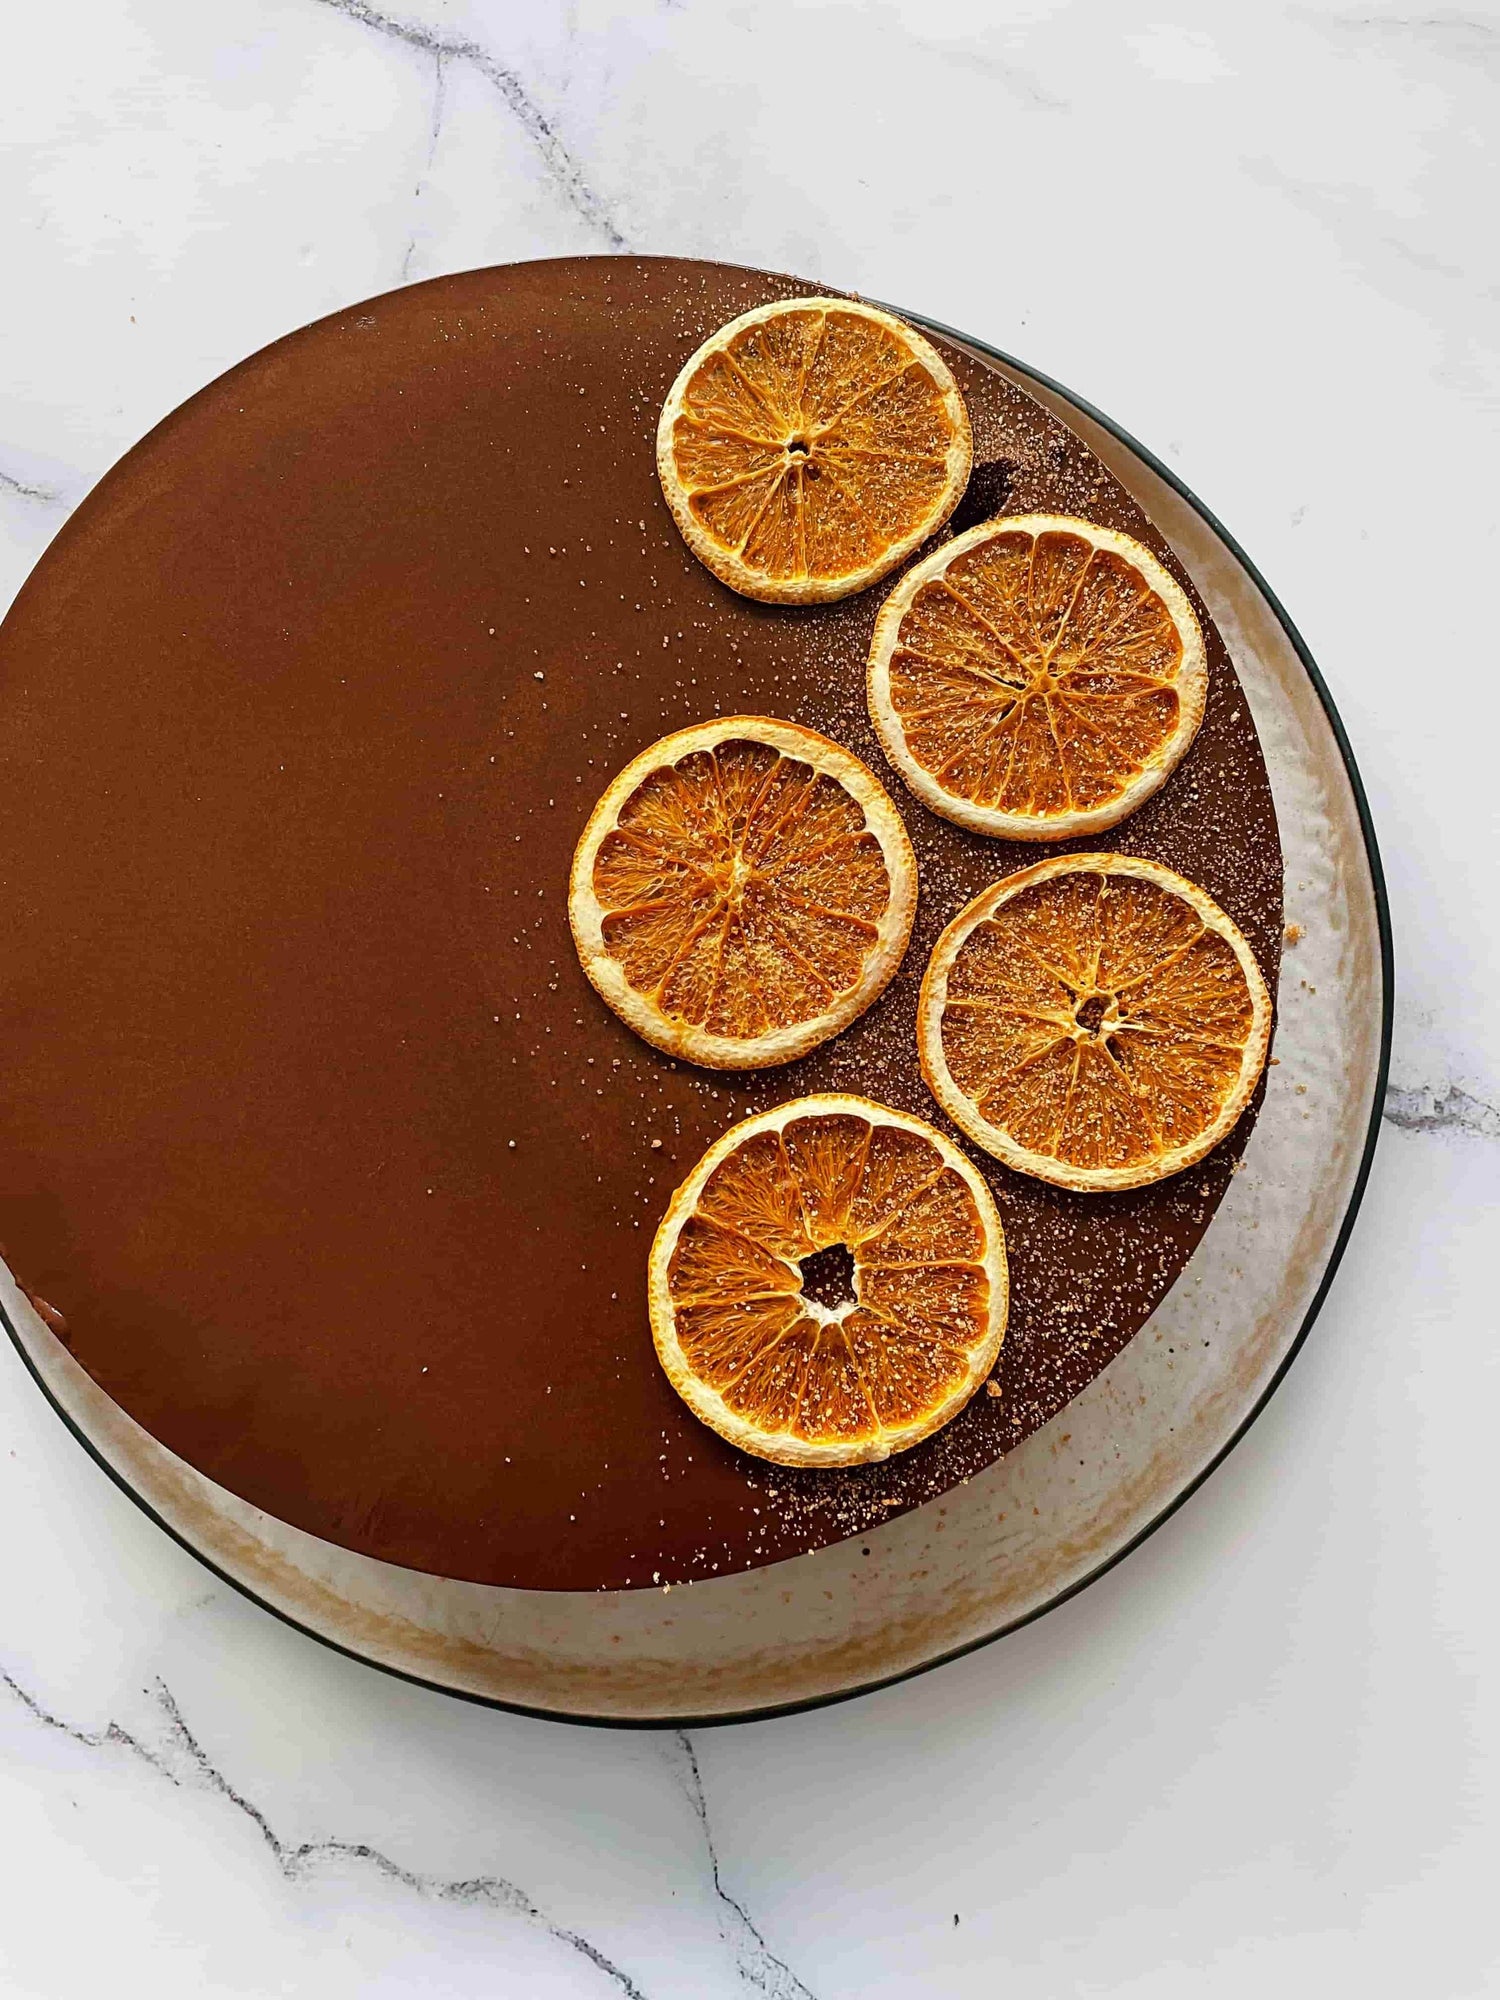
I recently made this cake for our lovely staff member Sally’s birthday… and what a hit it was! Everyone was raving about how fancy and decadent it was… but honestly, it’s incredibly easy to do. And there’s no oven required, making it absolutely fool proof (if you’ve got a thermo and follow my recipe exactly!). A crunchy chocolate biscuit base, a rich chocolate mousse middle and a shiny chocolate-glazed top… pretty special, right? To make sure it sets properly, I’d get started the day before you’re planning on serving - and that’s one of the other brilliant things about this cake, you can make it up to three days in advance and it’ll happily sit in the fridge.
For the complete ‘layer cake’ effect, we do my Thermomix Chocolate Mirror Glaze on top (free recipe!), but honestly the mousse cake hold’s its own without it so if you’re low on time or care factors, skip the last step.
I’ve also used this exact cake mixture to make individual chocolate mousse logs; they are so impressive! I used our naturally non-stick silicone swirl ice cream moulds without the sticks inserted to set the mousse cake centres, then coated them in the chocolate mirror glaze. So impressive! I set the mousse filling in the freezer (as opposed to the fridge) making them easy to remove. Once set, I popped them out of the swirl moulds, placed on the wire rack and chocolate glazed them. I then put them in the fridge overnight to allow the centre mousse cake to thaw for perfect eating, while the mirror glaze just stays perfect and shiny. A bit of planning required, but actually not that much work all up. Give it a go! Here’s a quick video to show you…

Serves 10
+ egg free
+ nut free
Ingredients
250g chocolate biscuits*
75g butter, roughly chopped
800g full-fat milk
1.5 tbsp powdered gelatine
60g raw sugar
120g Dutch cocoa powder
350g dark chocolate, roughly broken
500g thickened cream
Chocolate mirror glaze (optional) - click here for the free recipe
Method
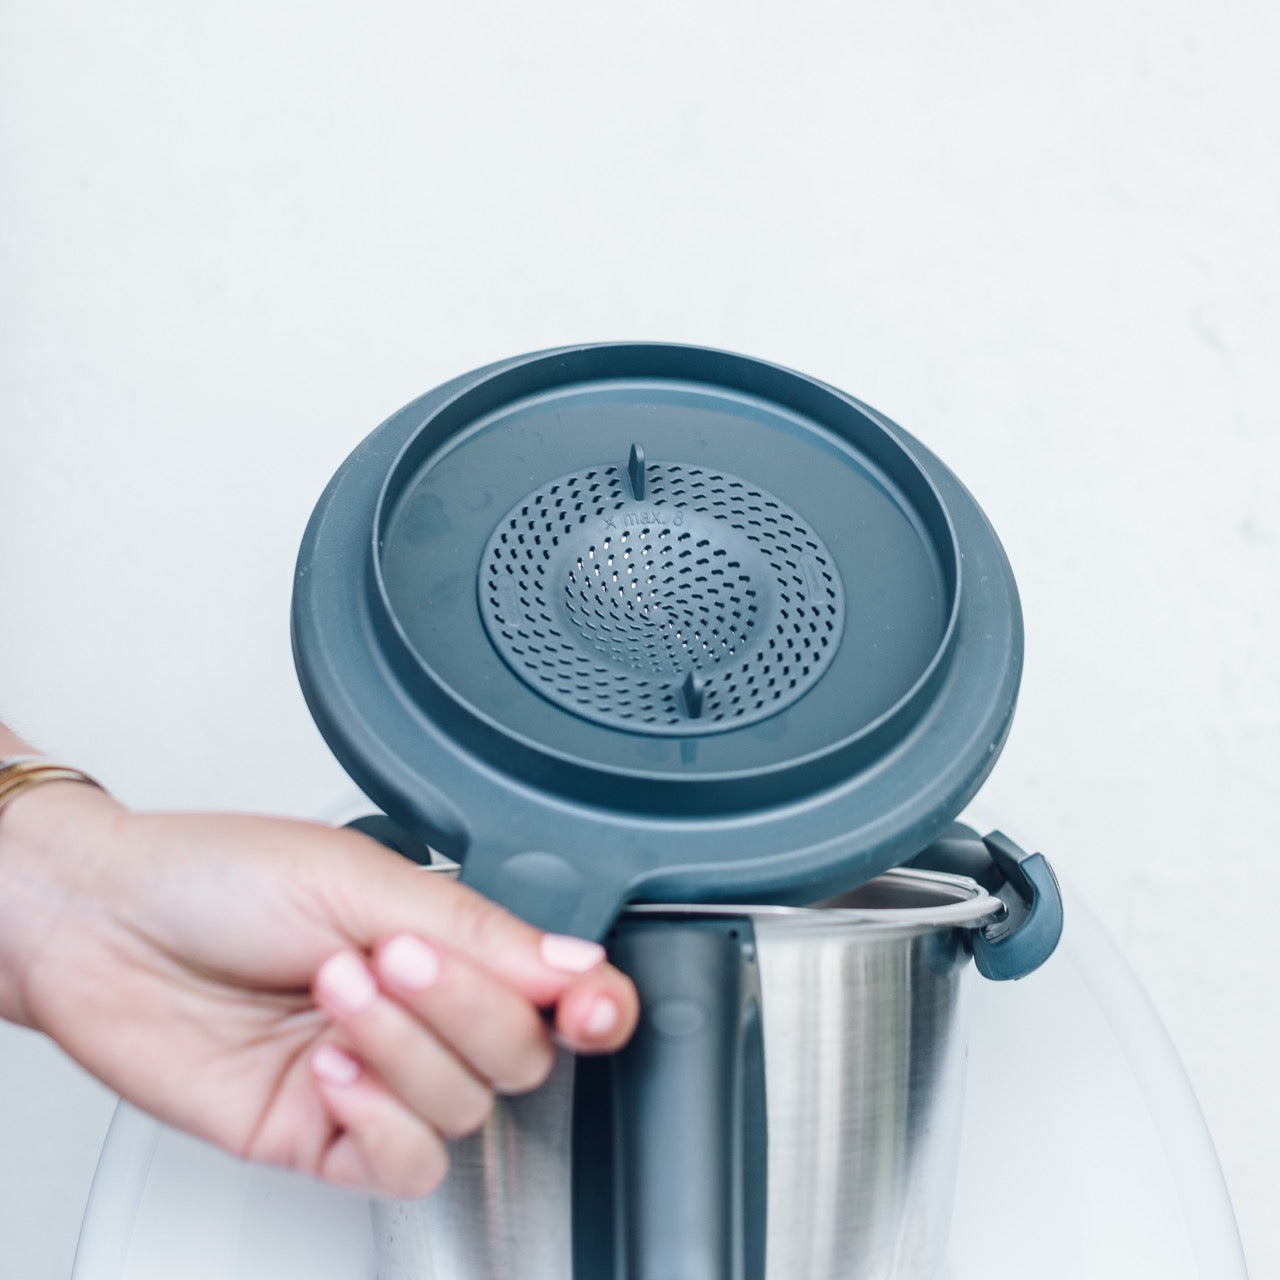
- Place biscuits and butter in TM bowl, mill for 10 seconds, speed 7. Use hands to press firmly into the bottom of a 23cm lined springform pan (I only line the base of the tin and not the sides; read the note below!). Place in refrigerator.
- Place 300g milk and gelatine in a cup or bowl and stir to combine. Set aside.
- Add remaining 500g milk, sugar, cocoa and chocolate, cook for 5 minutes, 70°C, speed 2.
- Add gelatine mixture, mix for 30 seconds, 70°C, speed 3.
- Add cream, mix for 10 seconds, speed 3. Pour chocolate mixture over biscuit base. Refrigerate for a minimum of 4 hours, or until set. Serve straight from the fridge.
Either remove from springform pan and decorate and serve as is, or for the complete layer cake top with a mirror glaze (click here for the recipe!). The mirror glaze does look amazing, but it is more work, so you might be happy to stop here!
NOTE: If you’re having trouble removing the cake from the springform pan, you need to apply a little heat around the outside. This will melt the cake just slightly, meaning it will no longer stick. I find a hair dryer is a great tool. Warning though - just do a little at a time, if you use too much heat the cake will begin to visibly melt ruining your edges! Although it will still taste great of course. You can line the springform pan with baking paper, however the edges will look smoother if you don’t line it. I find the heat trick works wonderfully to release the cake, but if you’re not confident line with baking paper first - just like you would when baking a regular cake.
*Any simple chocolate biscuit can be used (nothing cream-filled like a Tim Tam!), homemade or purchased. I usually use ‘Chocolate Ripple’ biscuits from the supermarket.