


Make your own individual pot-set yoghurts easily at home! I really believe this is the BEST yoghurt, so thick and creamy and delicious, without any additives or nasties. It’s a win all-round with no disposable tubs polluting the environment, and it’s so much cheaper! Also super convenient, as you’ve got individual serves stored in the fridge and ready to go.
We’ve got a detailed video about making coconut yoghurt in the Thermomix or thermo cooker, which is also helpful for all yoghurt making (including cow’s milk!). You can watch it here, or keep scrolling for the written instructions…

To make your pot-set yoghurt:
-
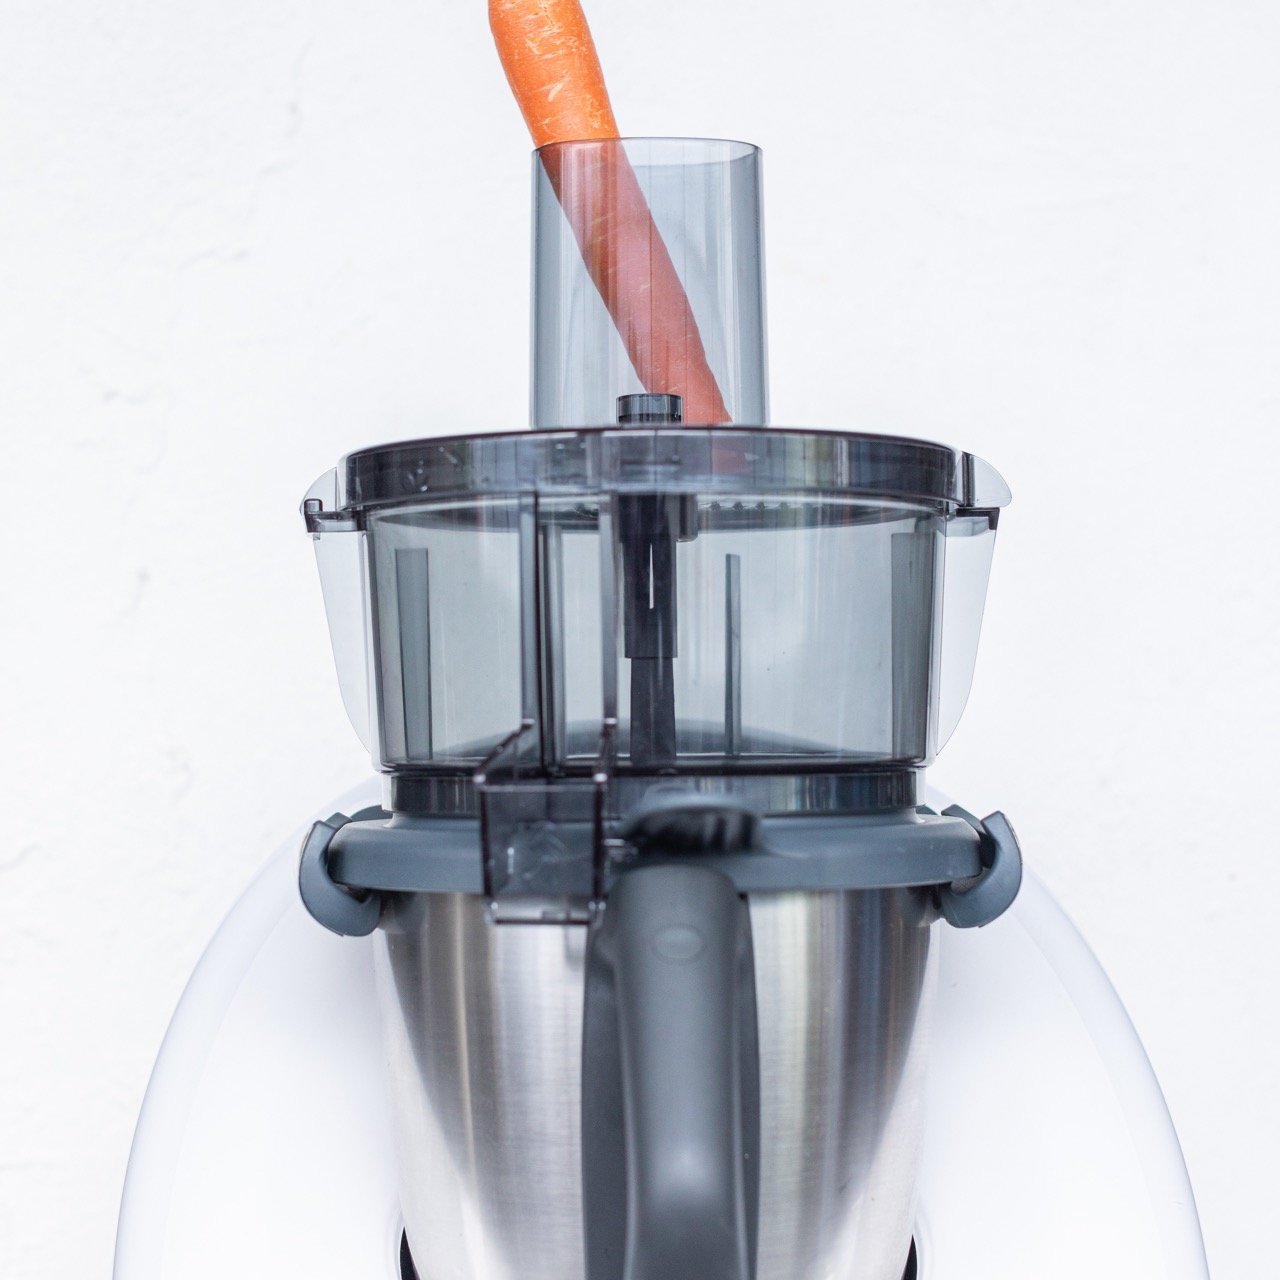
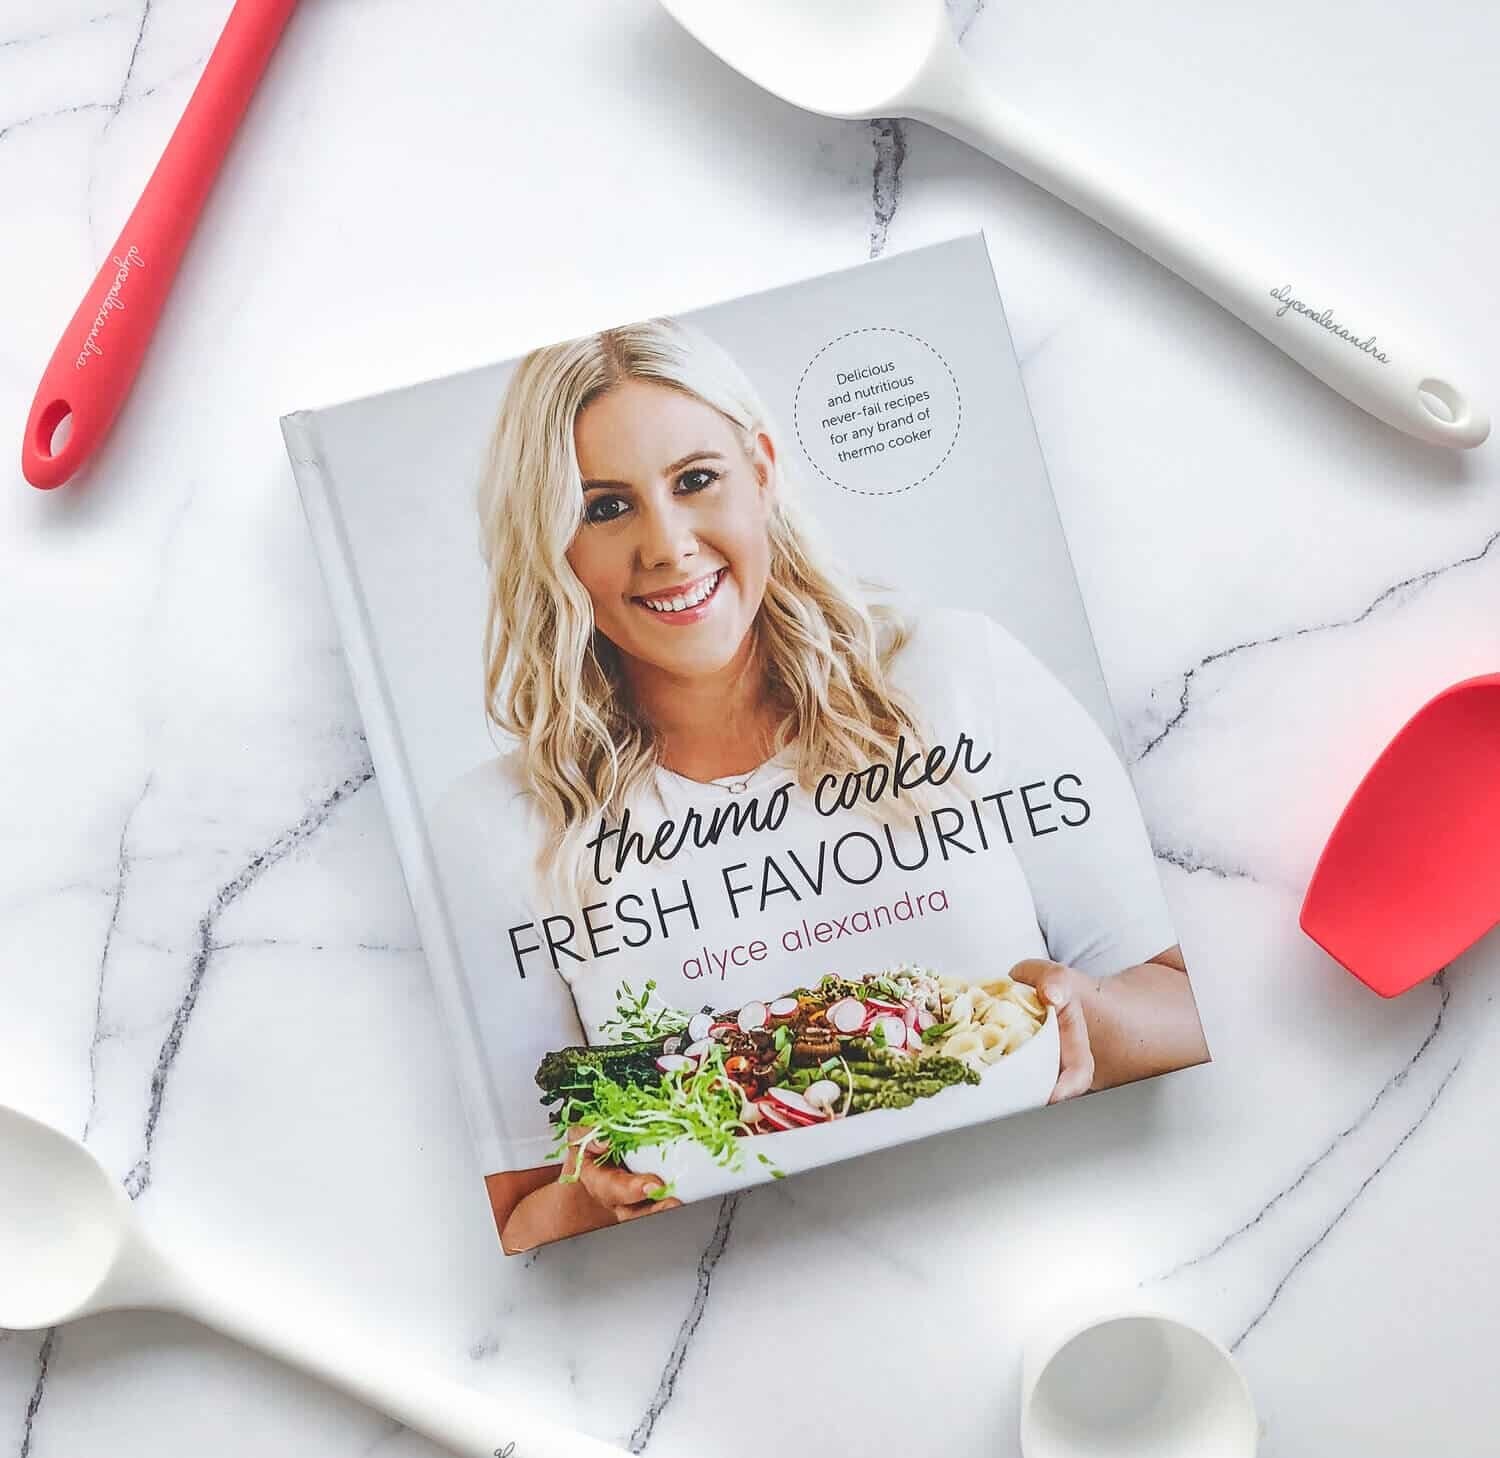
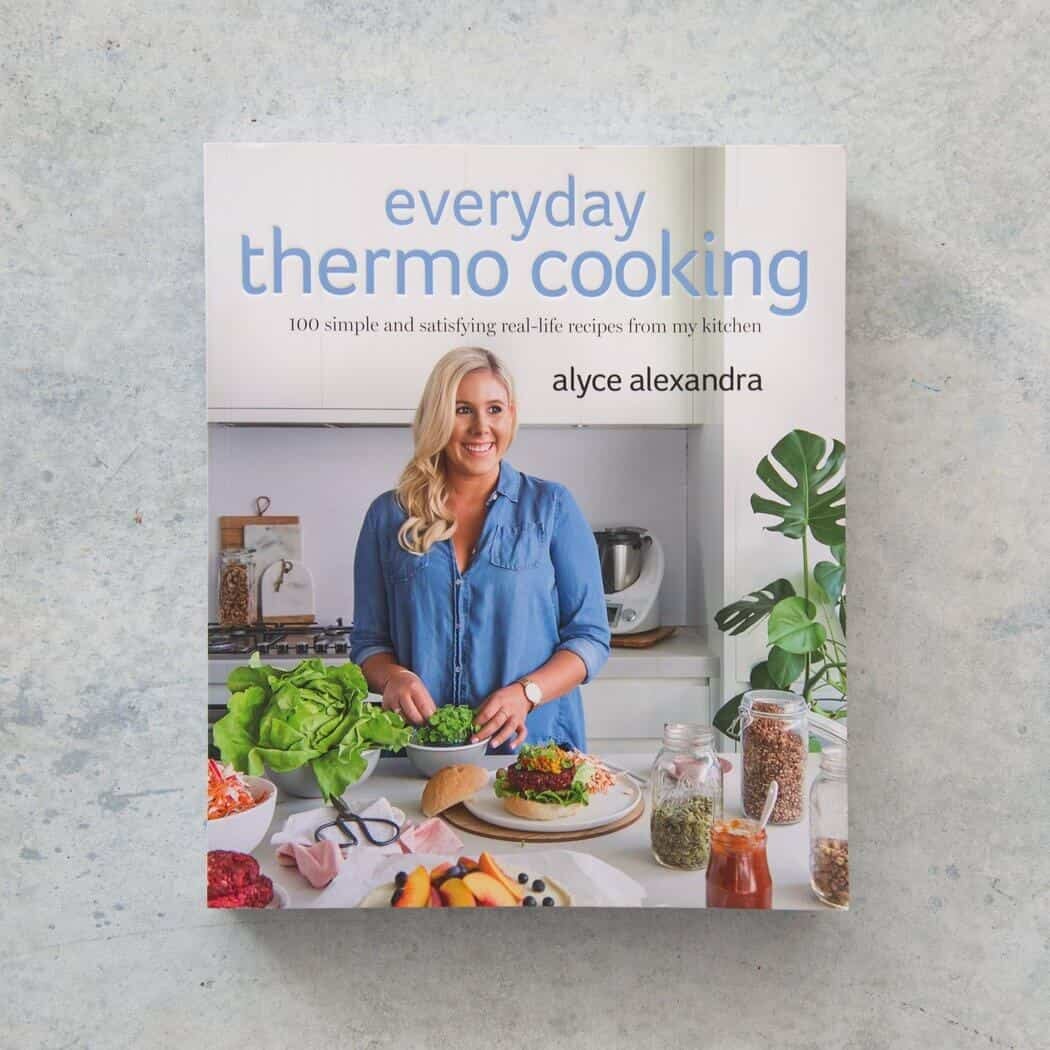
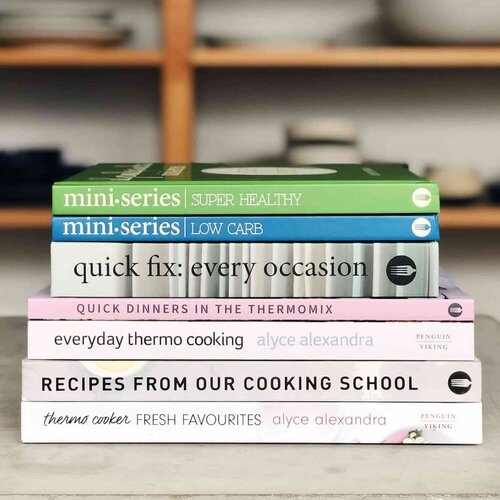
Simply make up your yoghurt mixture. Our pick is our dairy-free coconut yoghurt in Everyday Thermo Cooking (page 24, steps 1 - 4) or super-thick cow’s milk yoghurt in Fresh Favourites (page 59, steps 1 - 5). And we don’t use milk powder in either recipe - just wholesome ingredients (like kuzu, which you can find out more about here!).
-
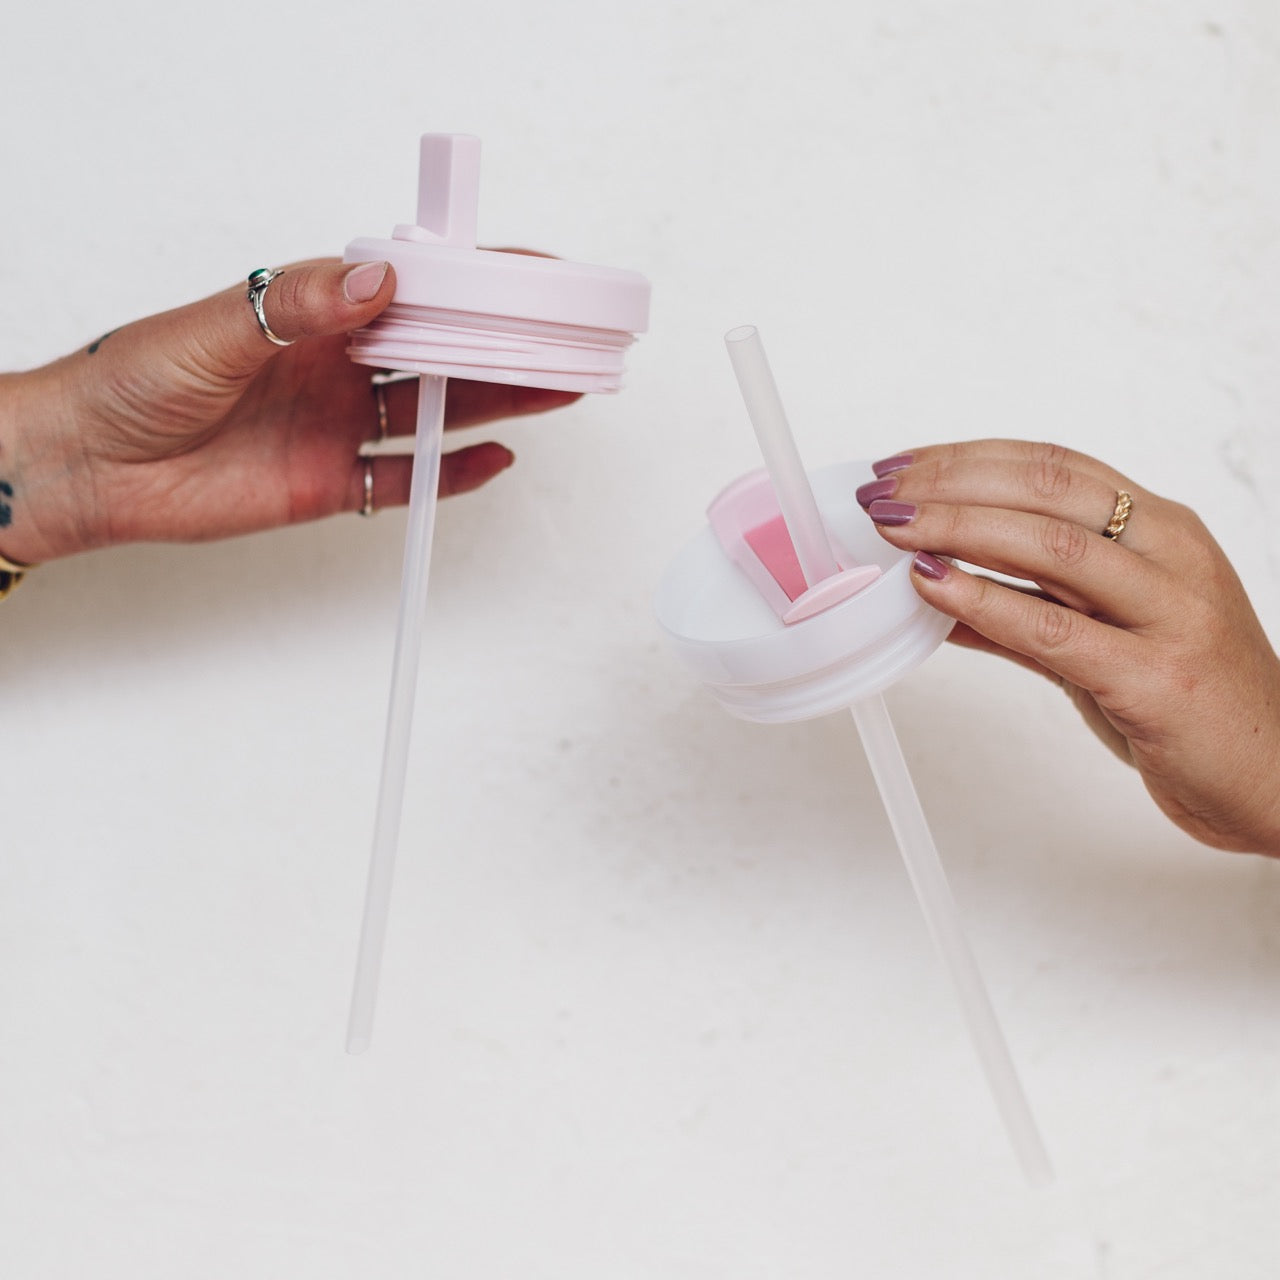
To incubate, pour your mixture into glass pots with lids. For smaller home serves we love these ones, or try our new Silicone Yoghurt Pots with Lids... travel friendly and unbreakable! You’ll need enough pots for the full amount of mixture.
-
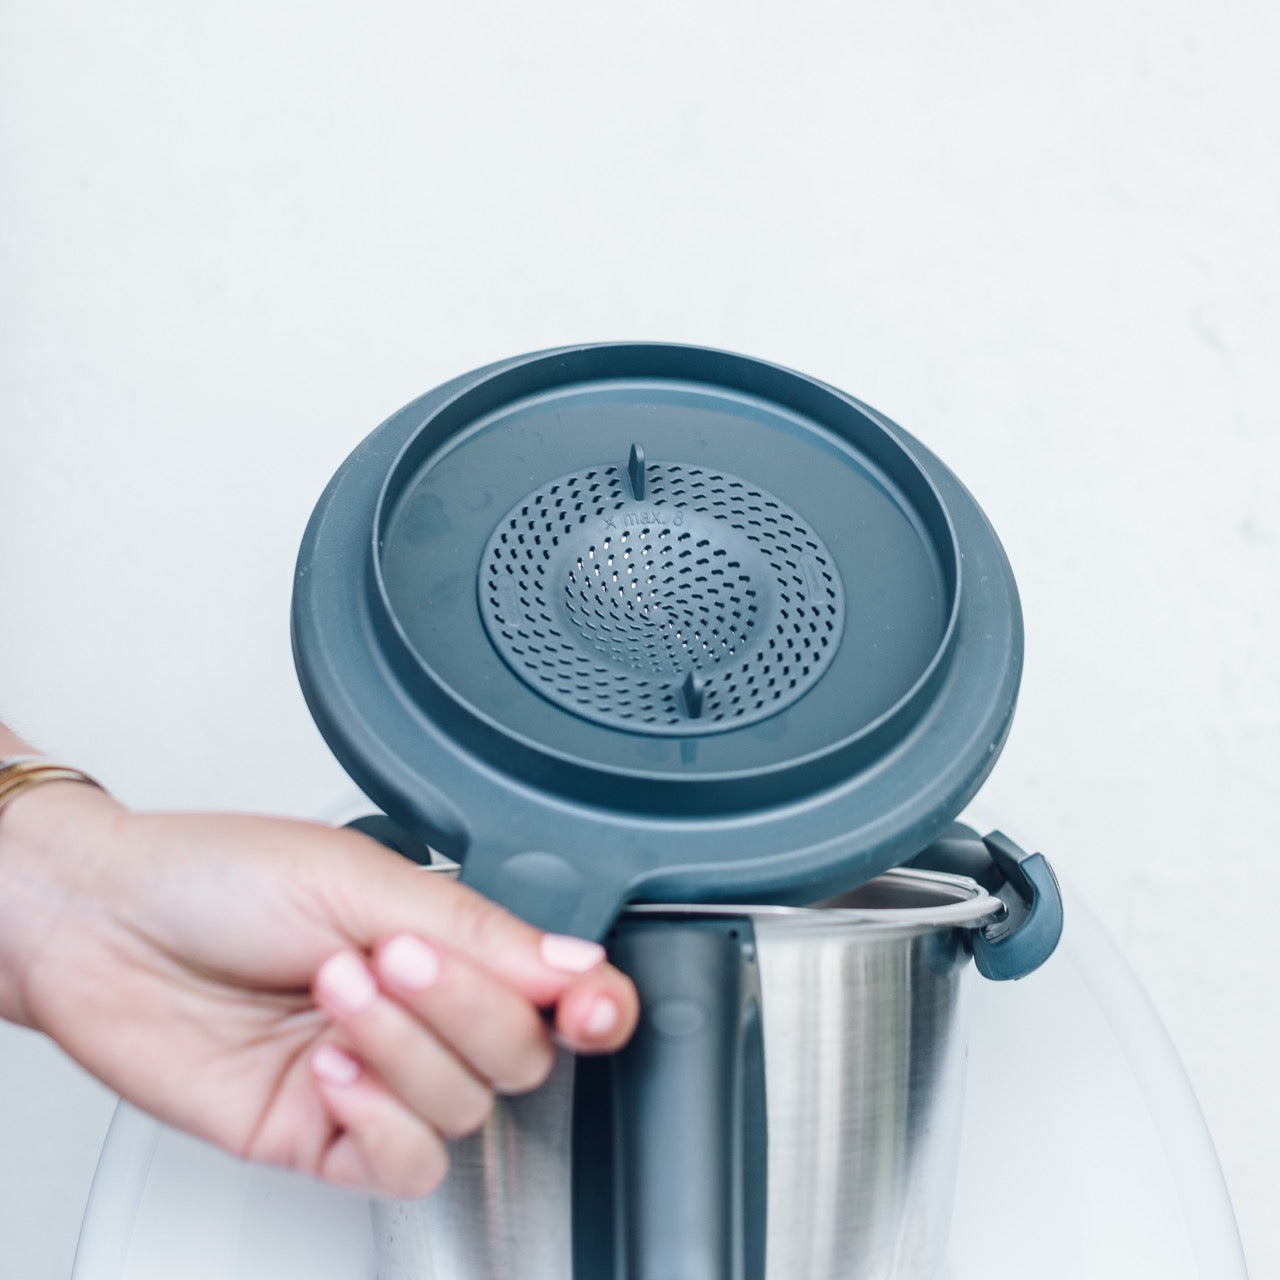
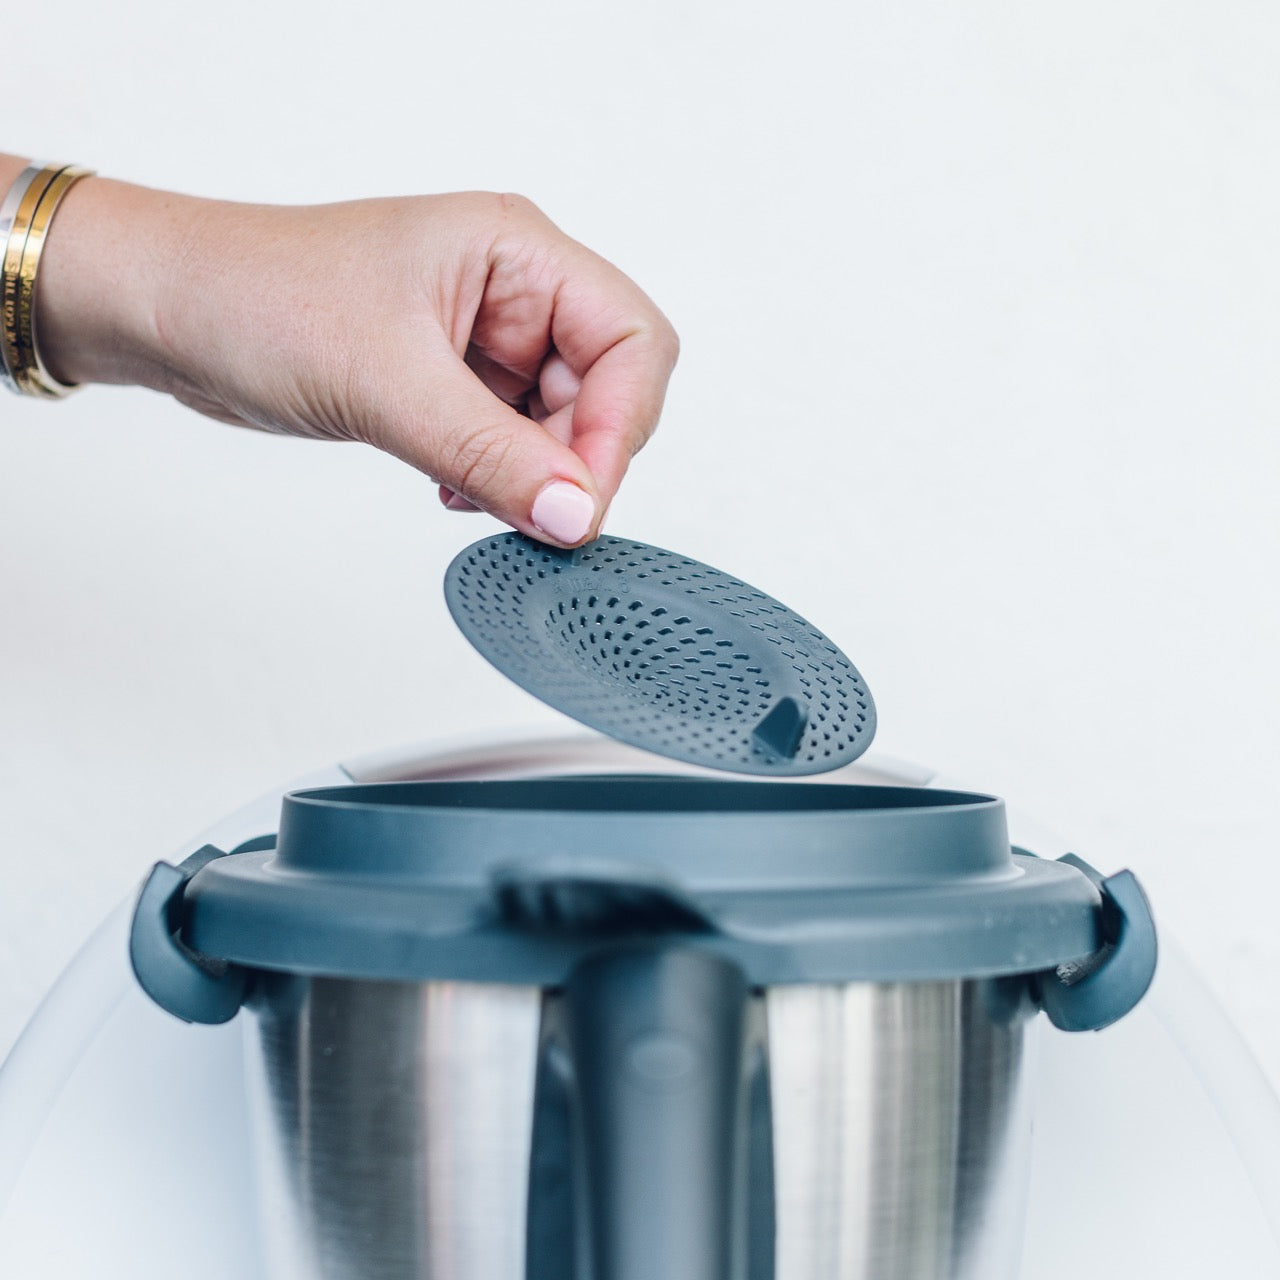
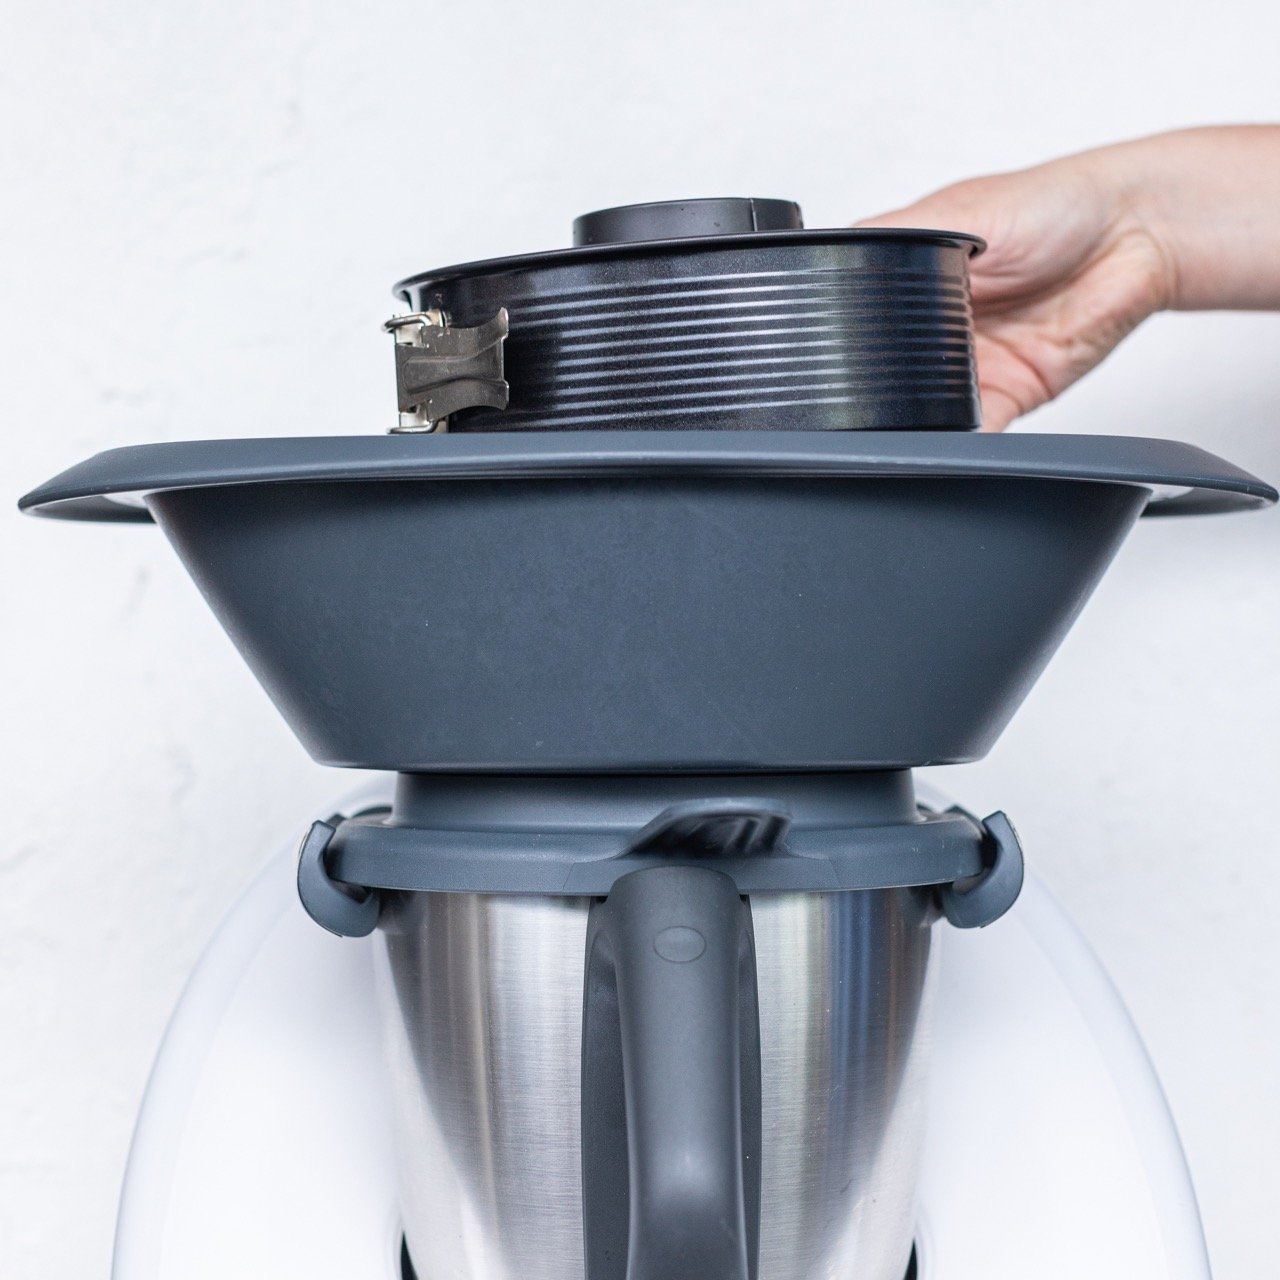
Snap lids firmly onto glass or silicone pots and arrange in 4.7L stainless steel food warmer (or similar large incubating device). Pour over approx. 1L of boiling water and place food warmer lid on. Allow to stand, undisturbed, for 24 hours. If you have a newer model of the Thermomix, you can place your pots in the Varoma and use the fermentation mode (but you’ll only be able to fit all your jars in if you've got our MaxiSteam Extender for Varoma, see below video). We fermented ours for 12 hours at 70°C. For the slow cooker instructions, see page 171 or 177 of Modern Slow Cooker.
-
Once incubated, transfer pots to fridge for minimum 24 hours - it will need the full 24 hours to finish thickening up. Enjoy! At this stage you can top with a fruit coulis to flavour (simply cook down fruit and a little sweetener until soft).
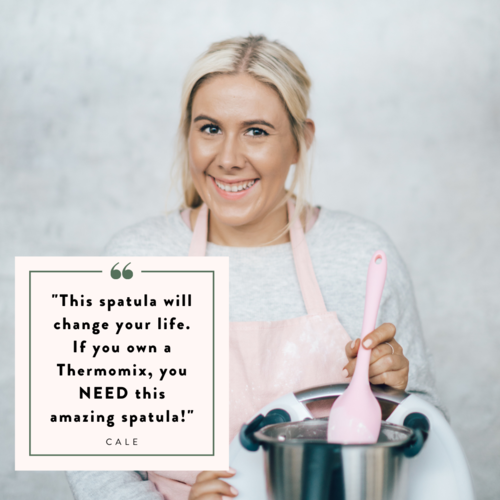
Simple as that, as long as you’ve got the right equipment and recipes! Happy cooking xx