





Free Recipe · Beginner Sourdough
My foolproof white sourdough loaf, with a soft, fluffy crumb and a crunchy crust, that anyone can make no matter your baking knowledge or skill set.
This beginner white sourdough loaf is mixed by hand, proved overnight and baked in a Dutch oven for 45 minutes, and the recipe makes one large loaf.
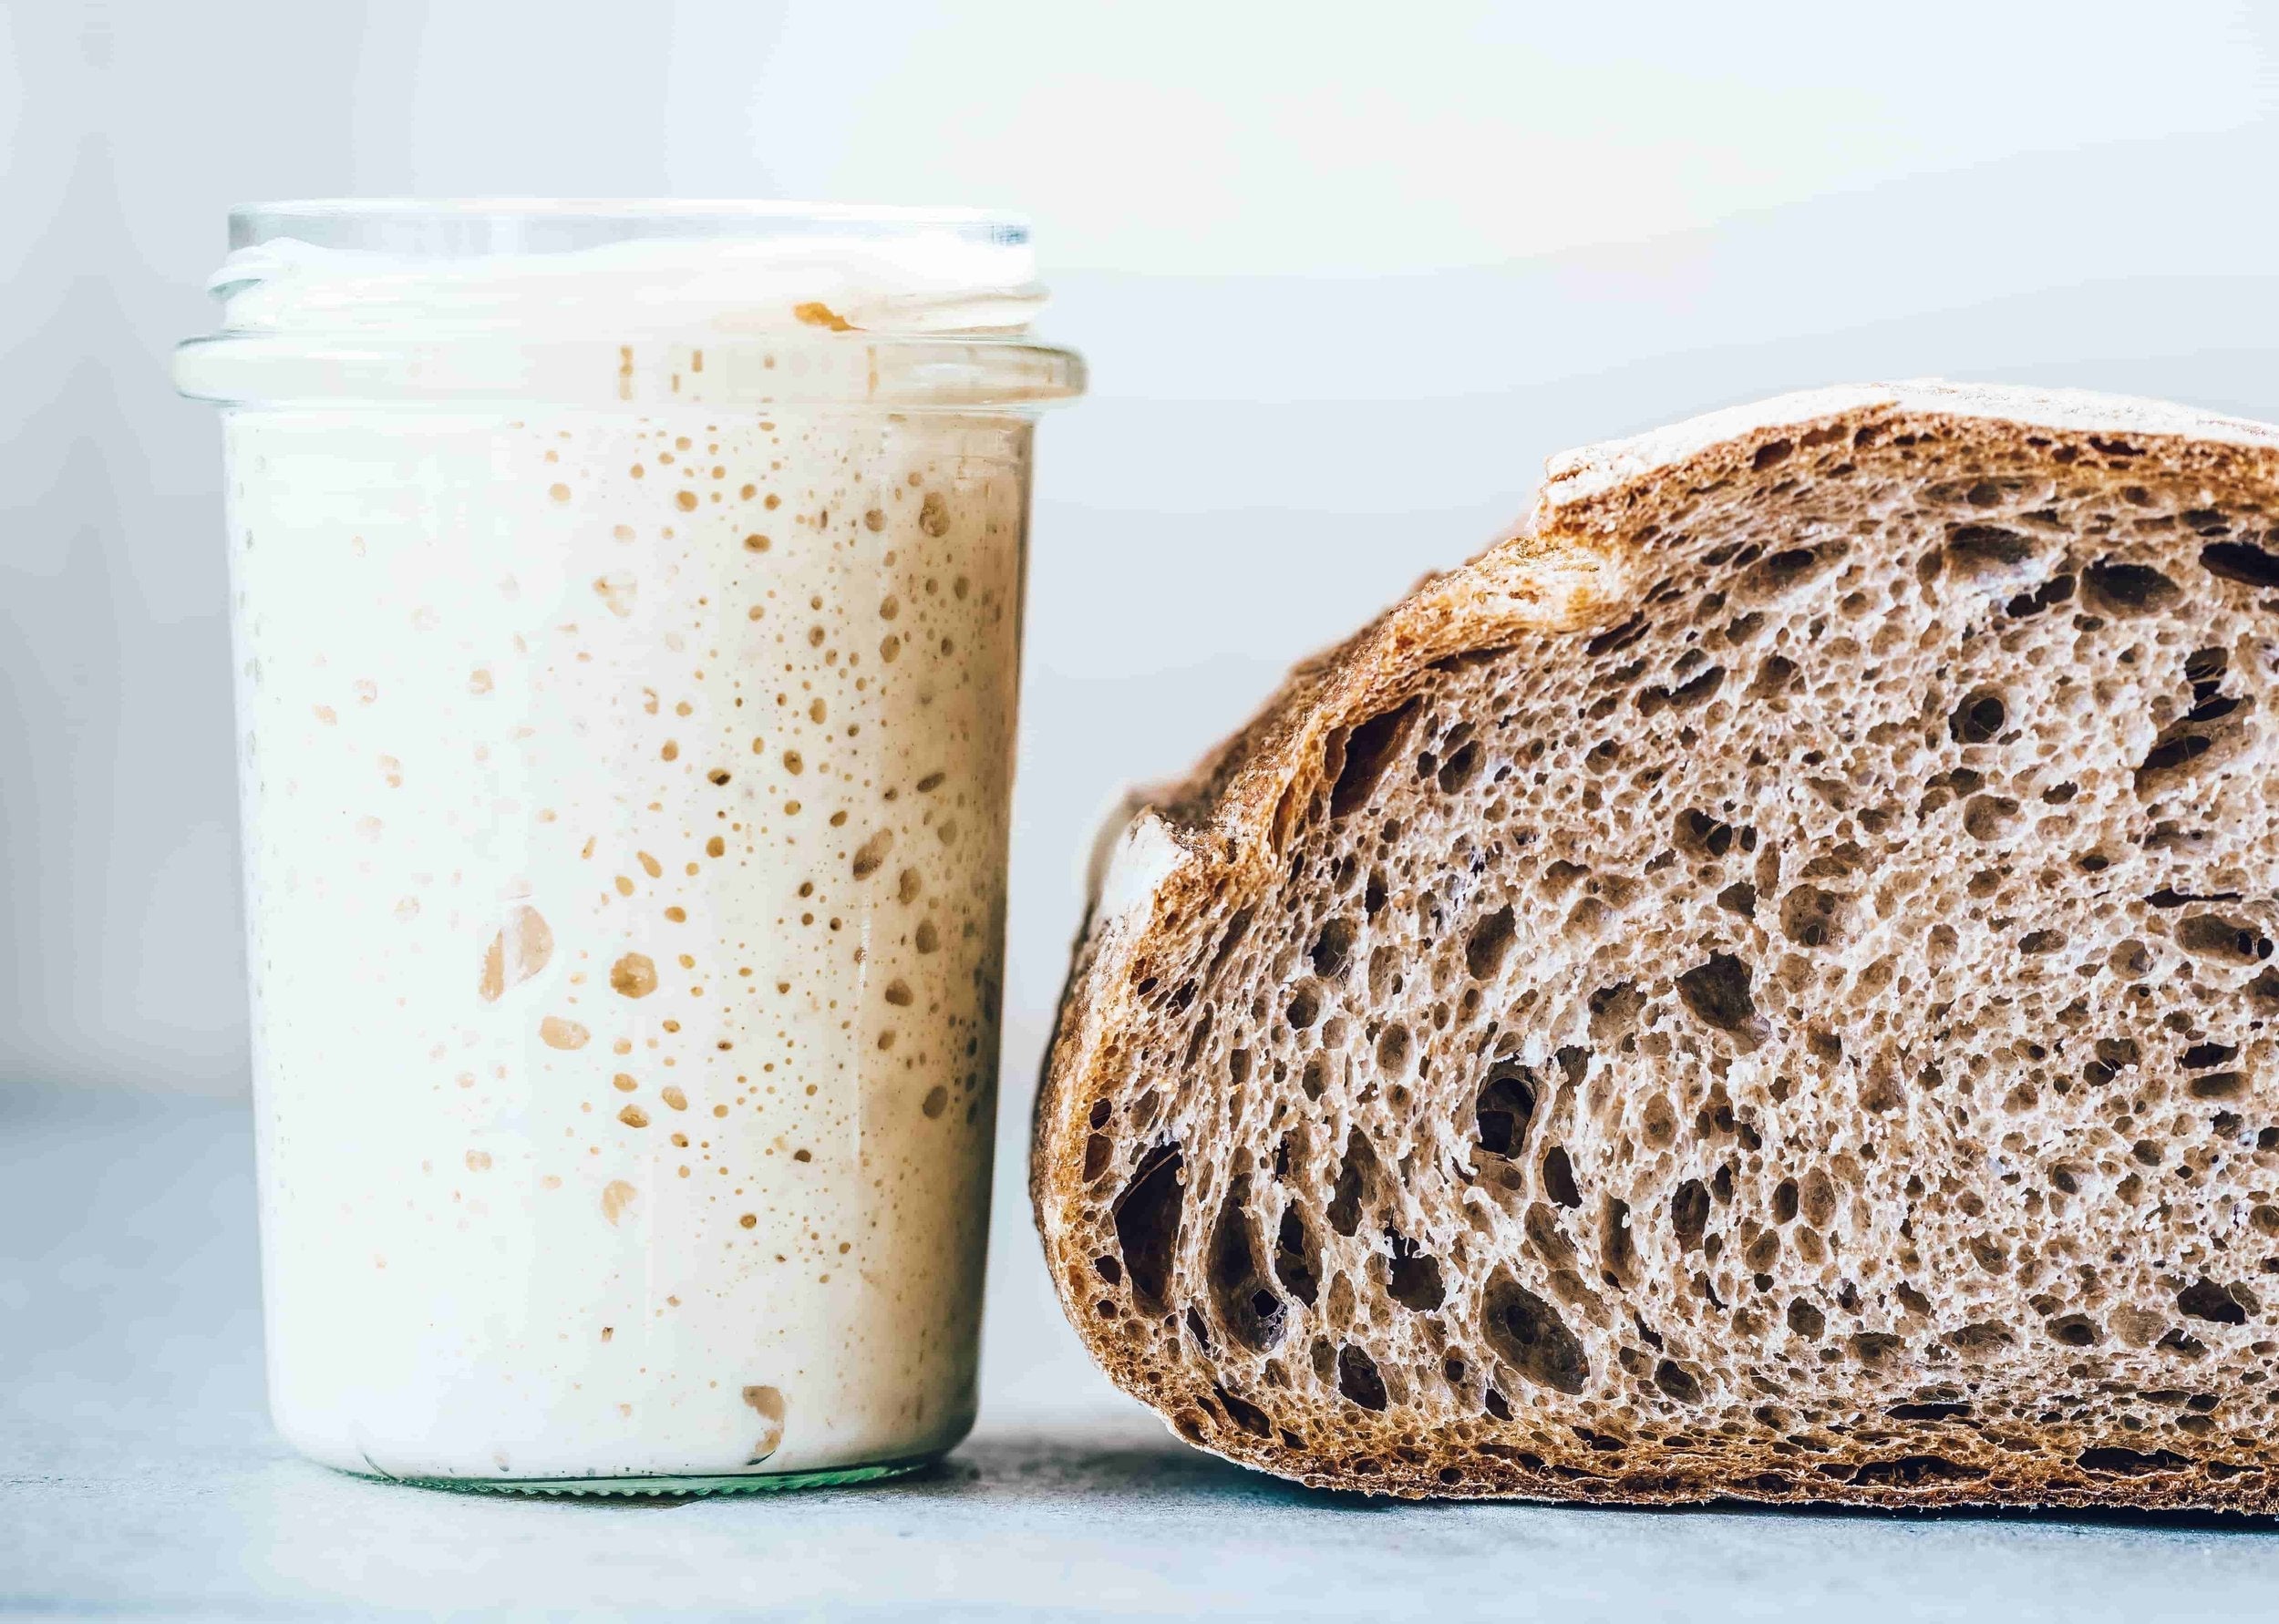
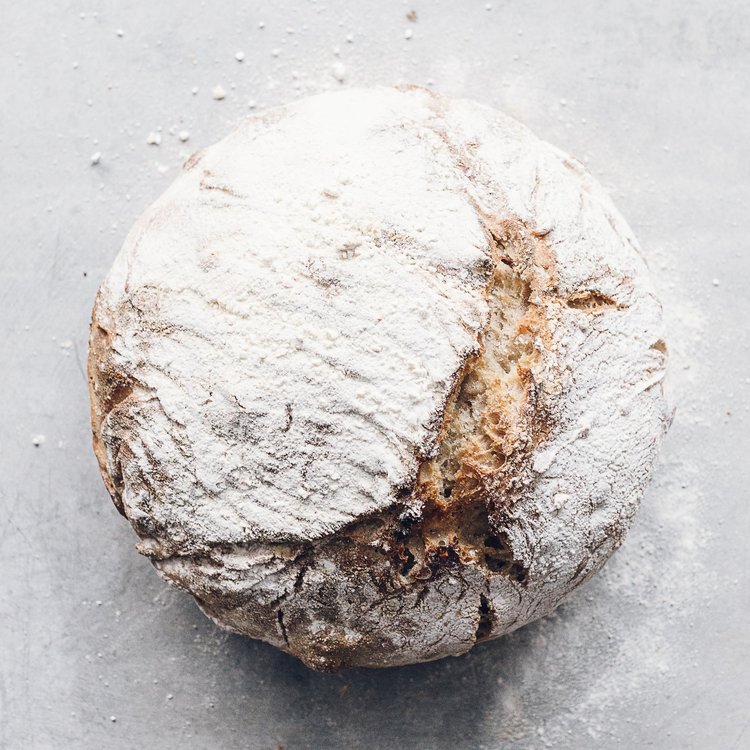
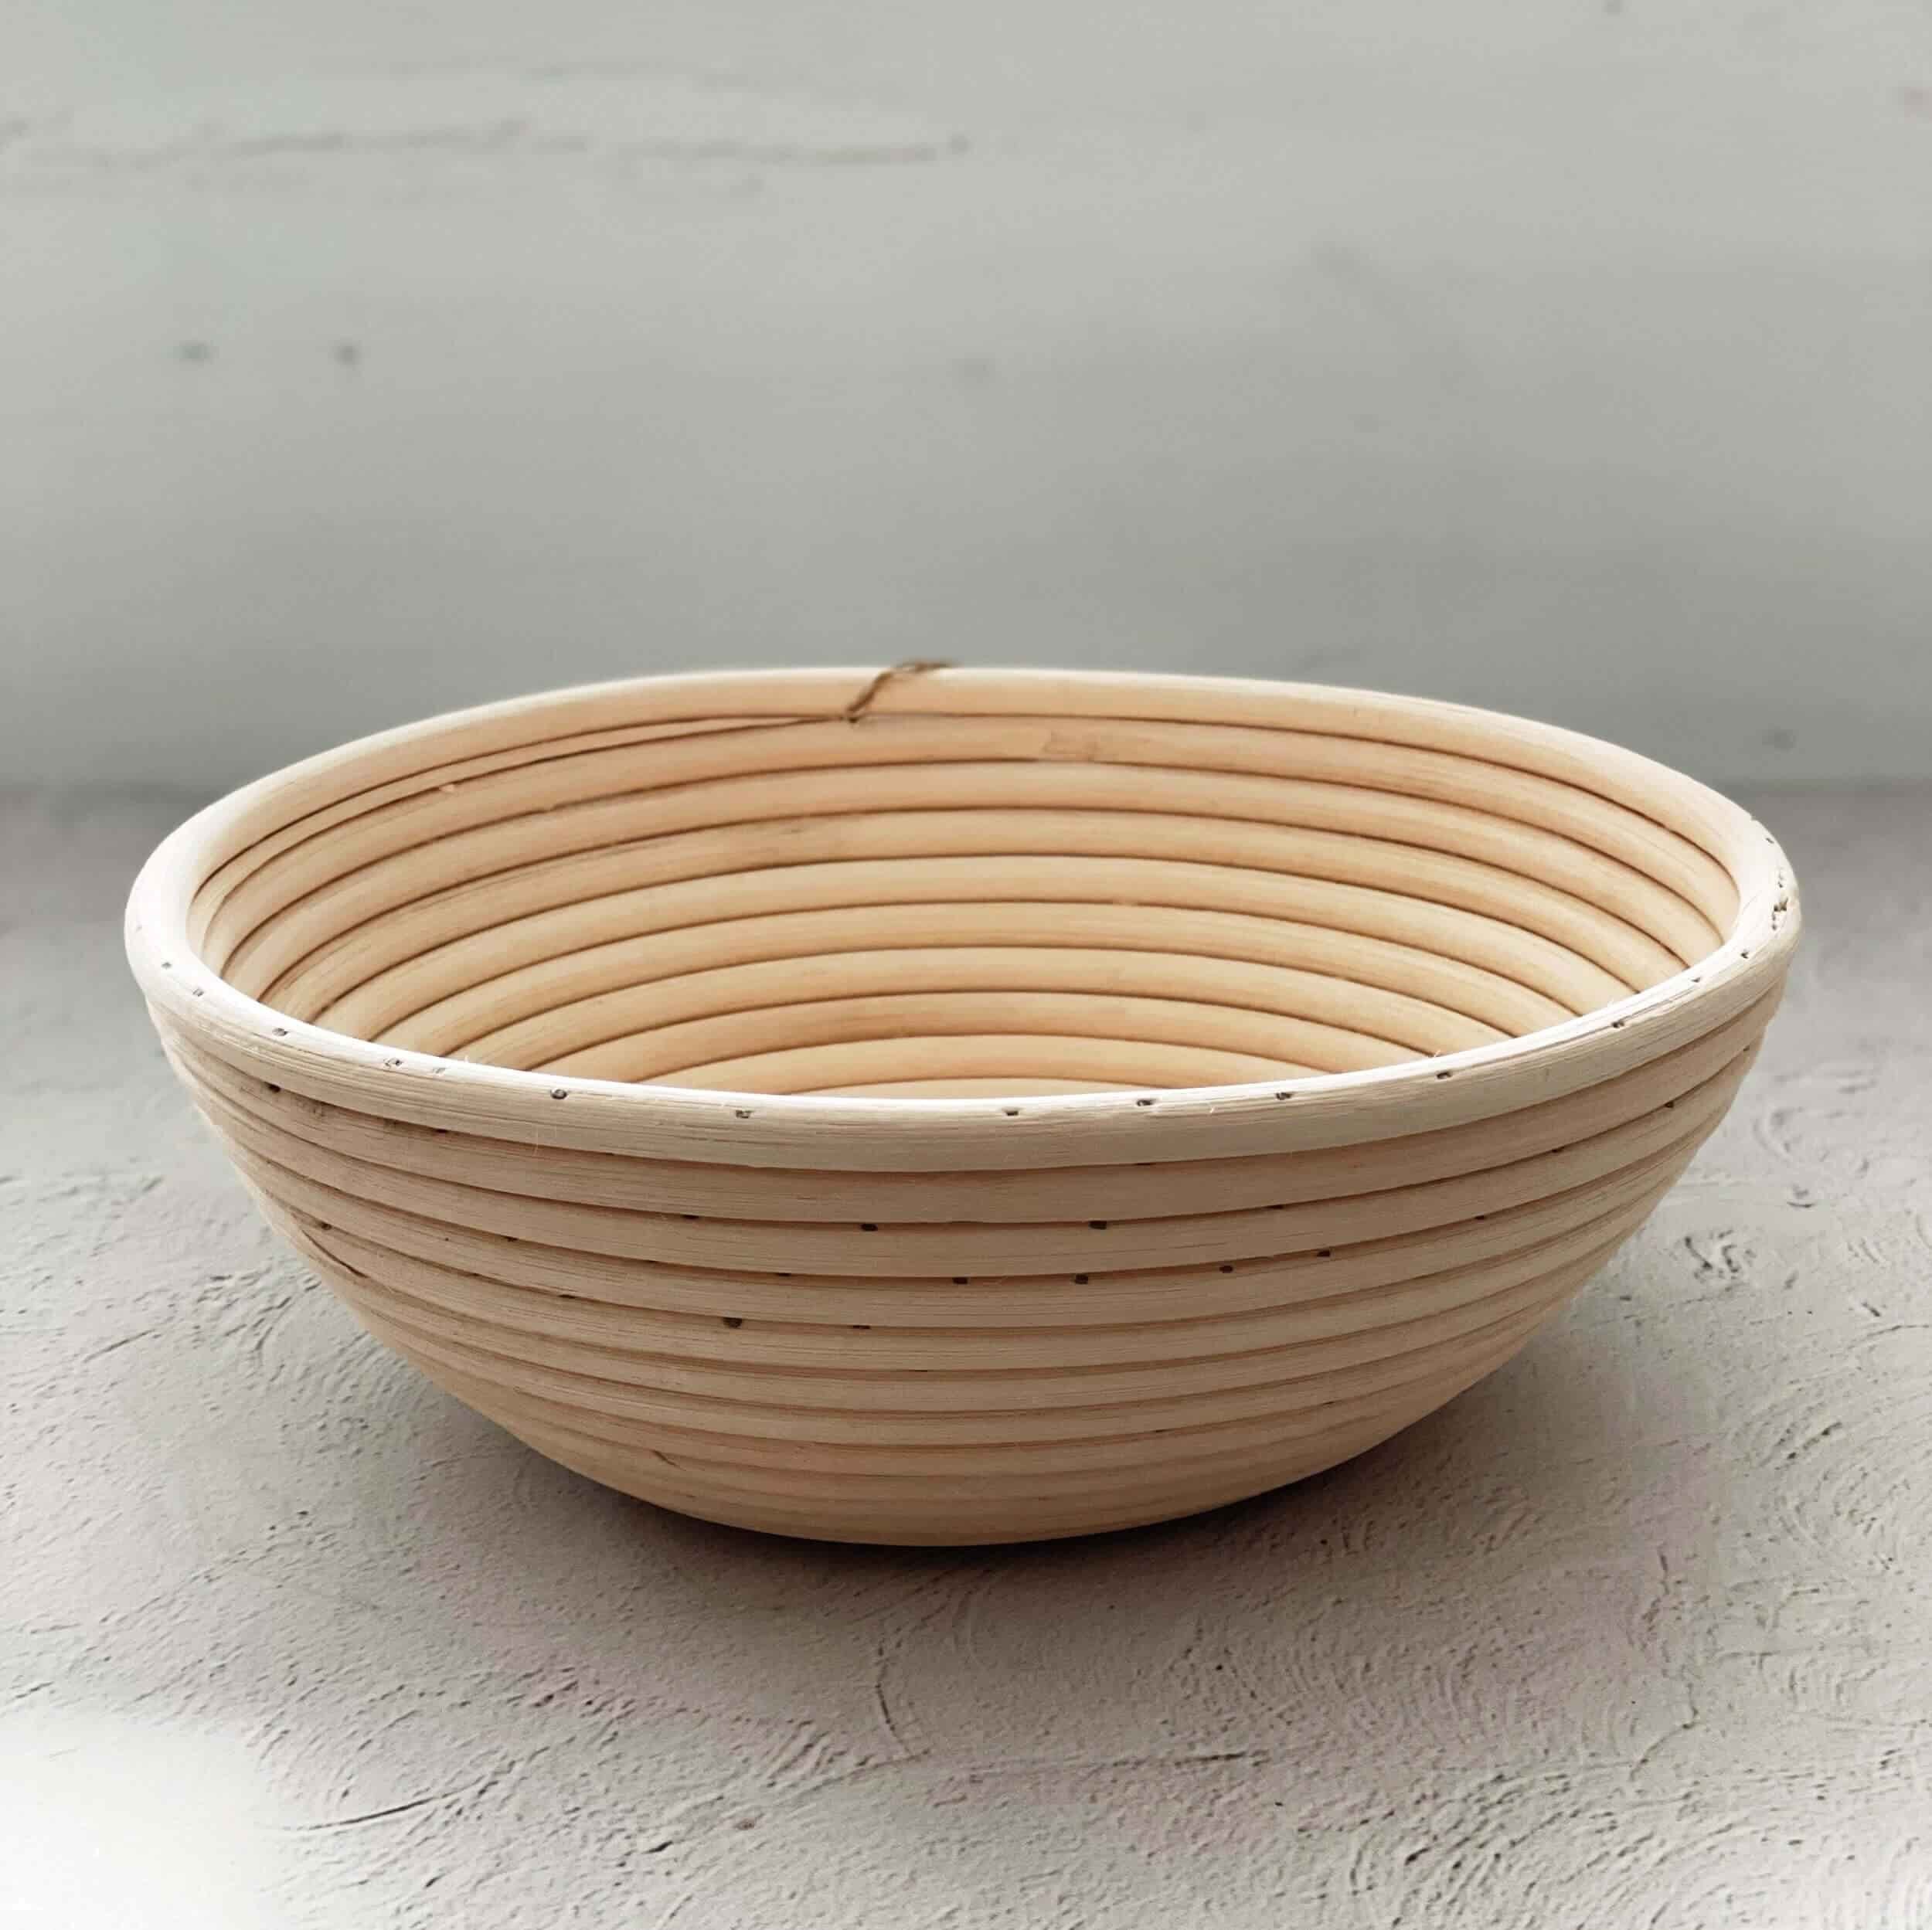
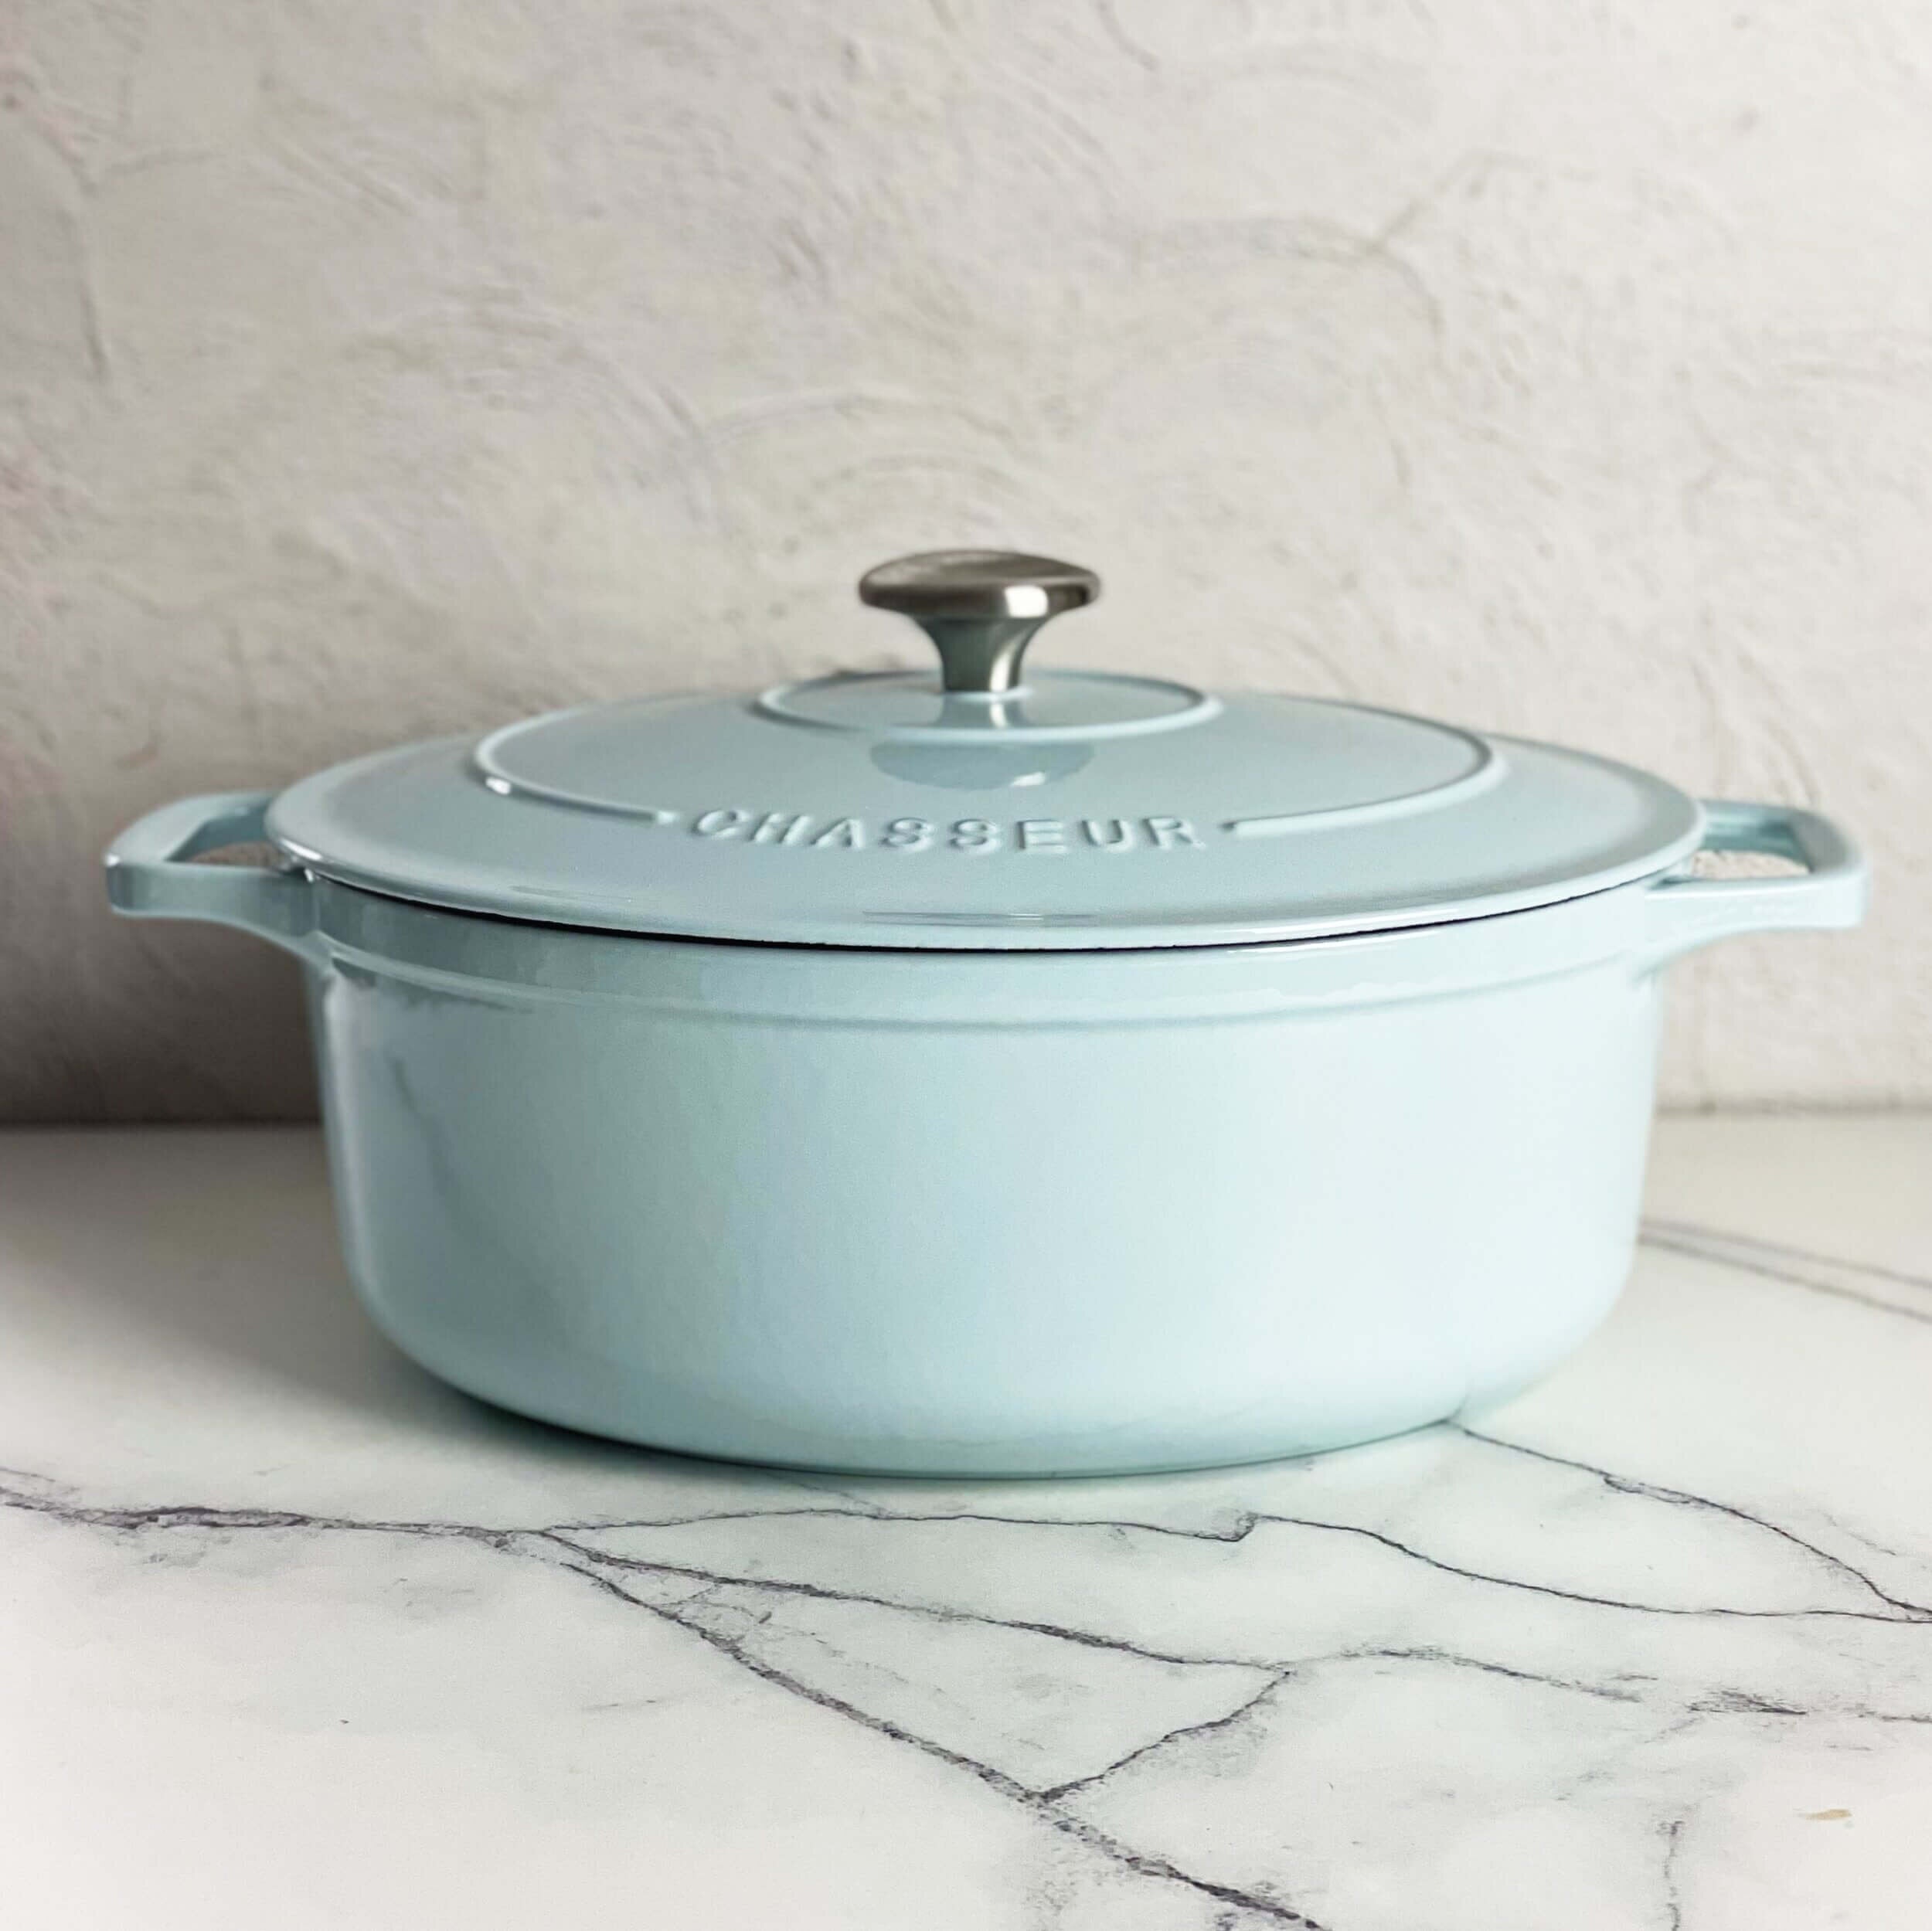
This is my foolproof white sourdough recipe from my new cookbook Simple Sourdough. Like all the sourdough recipes in my cookbook, this is one that anyone can make no matter what your baking knowledge or skill set - I think you will find this loaf a breeze! This recipe creates a beautiful soft and fluffy crumb with the perfect crunchy crust (thank you Dutch oven!) and a sexy shape (thank you proving basket!).
I get that it sounds like a lot of steps when you read the recipe, that's why we've filmed a video showing you exactly how I do it, step by step! And you'll see it's totally achievable. Simple Sourdough really makes sourdough baking accessible to all. Happy sourdough baking! Ellen x
Don't have a sourdough starter? Click here.
Meet the cookbook
The book that makes sourdough simple
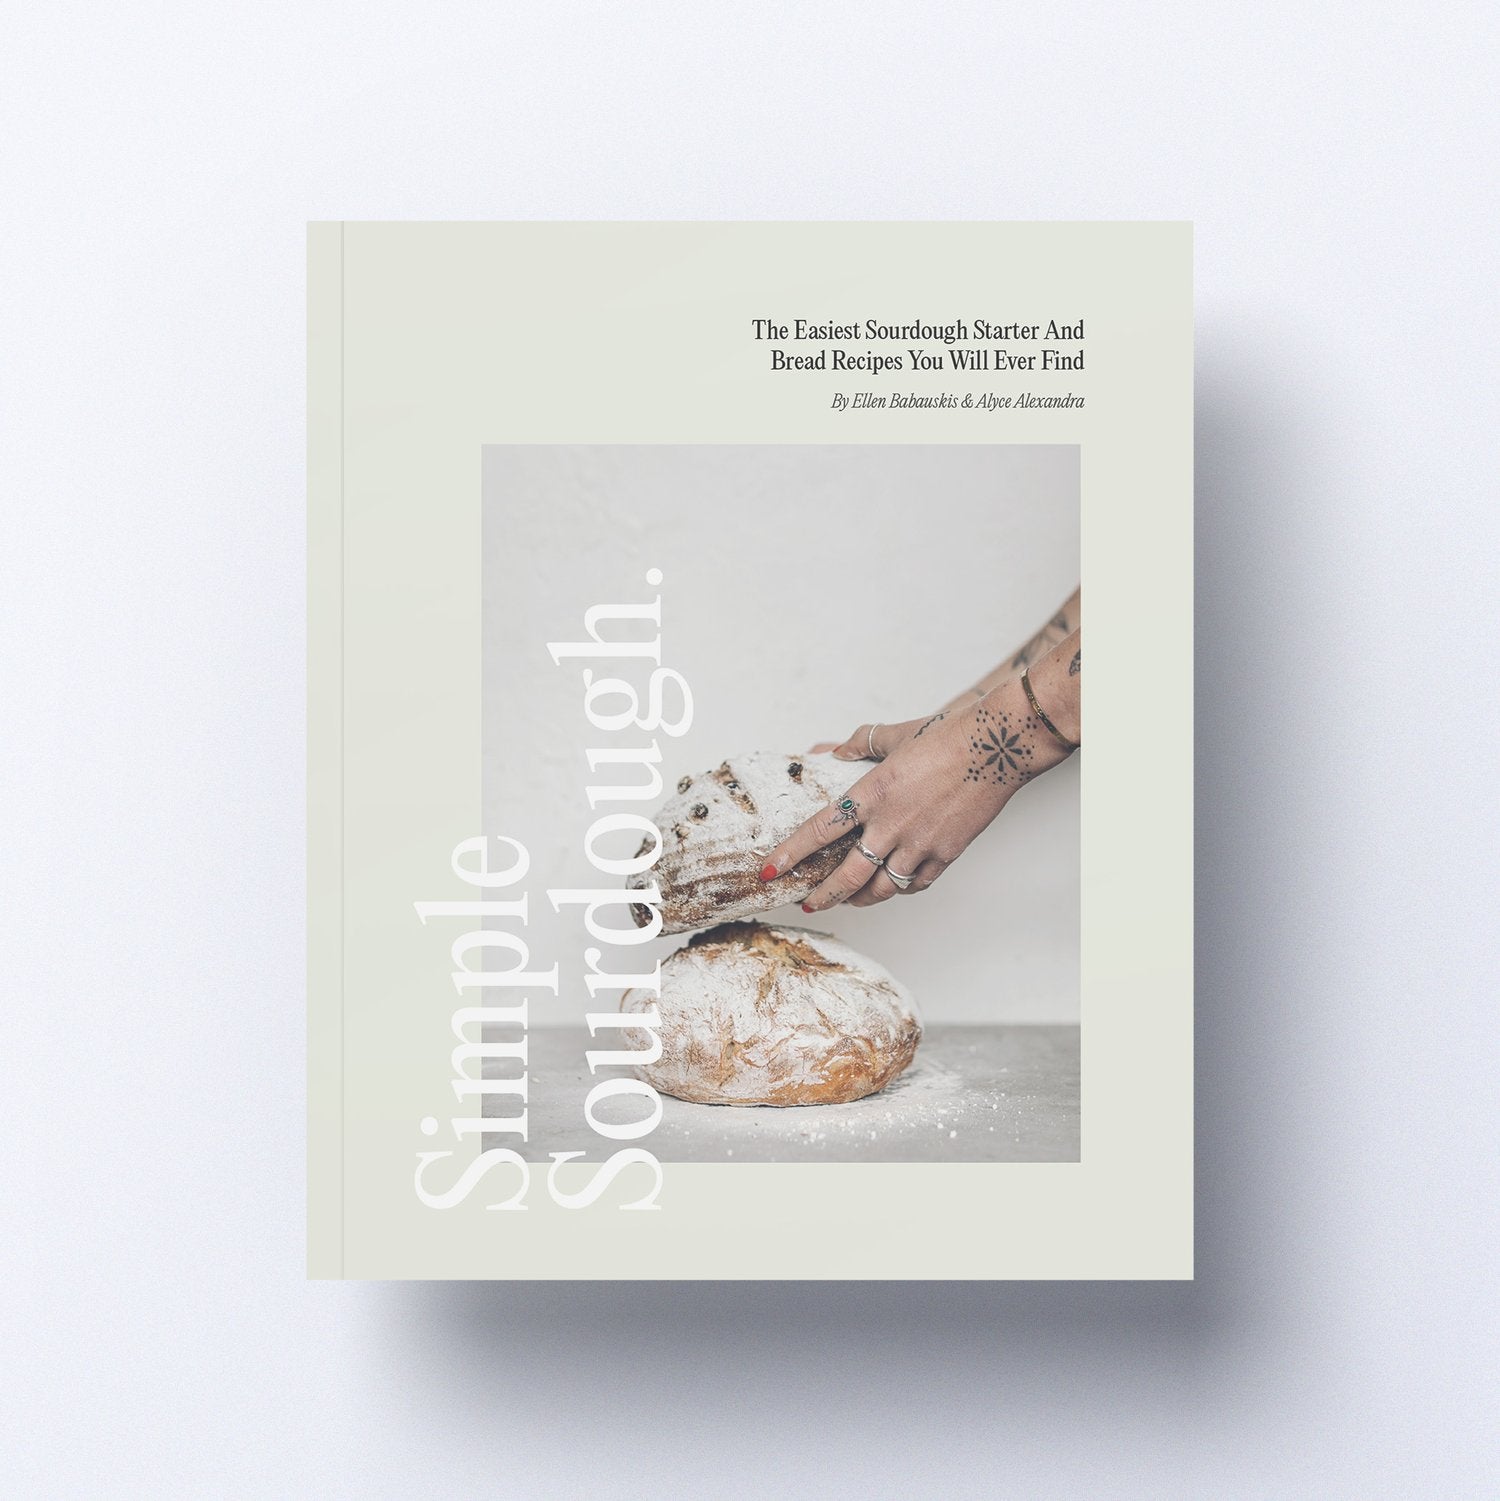
Simple Sourdough
Foolproof sourdough recipes and techniques that make baking accessible to all, no matter your skill level.
Shop now →Watch
Join us in the kitchen
Let's Bake
Beginner White Sourdough Loaf
Makes 1 Large Loaf · overnight prove
Method
Place active starter and water in a large mixing bowl. Mix with a silicone spatula until well incorporated, then set aside.
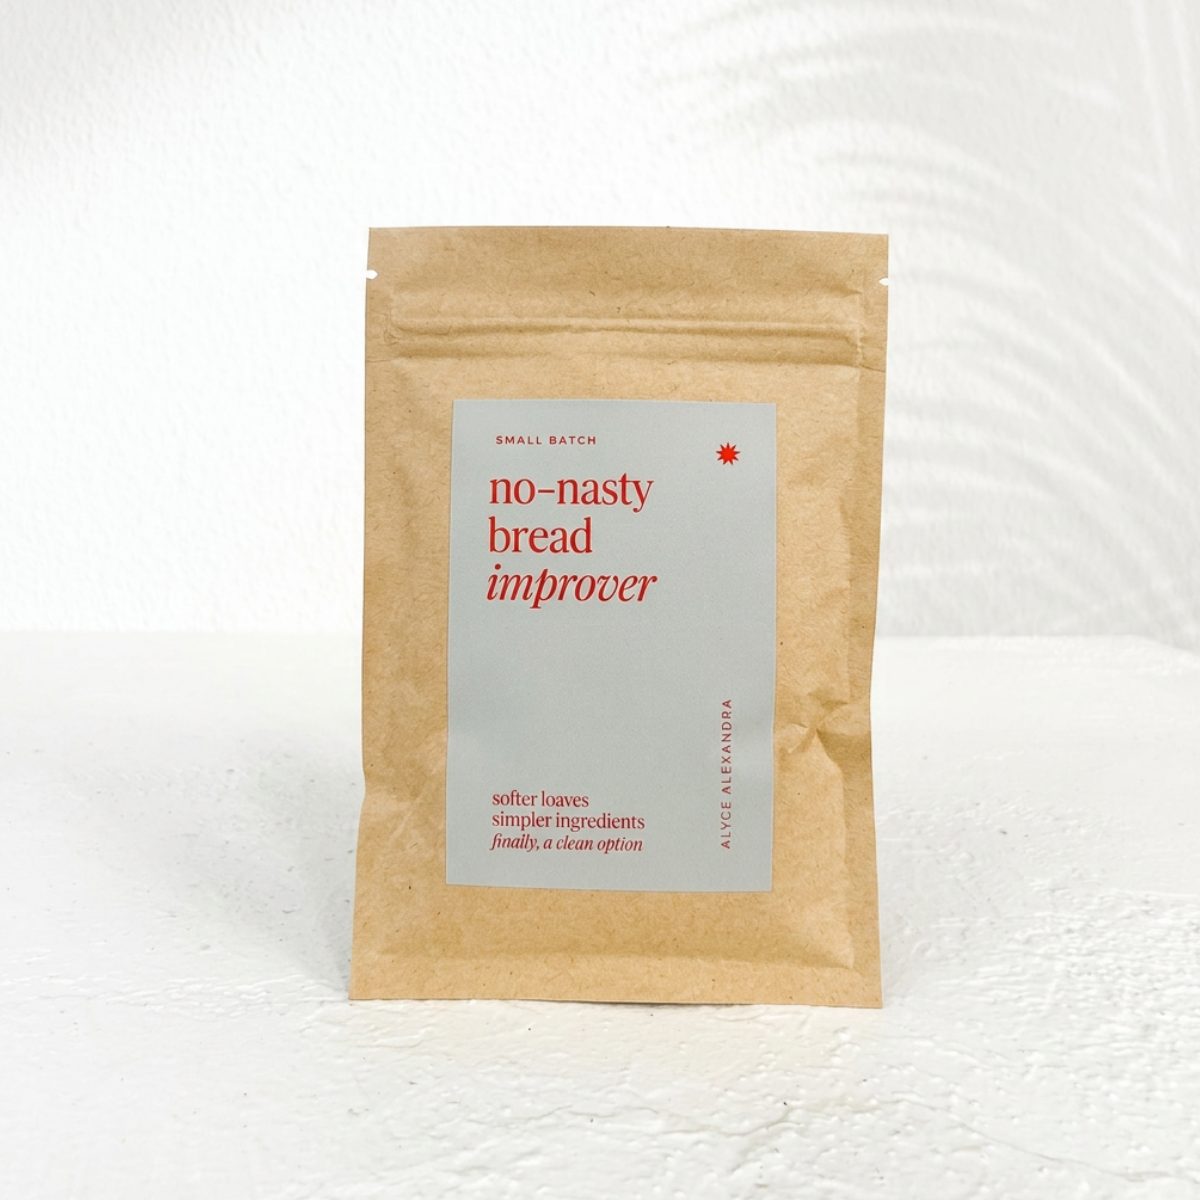
In a separate bowl, combine the flour, salt and No-Nasty Bread Improver, and mix until well combined. Sieving them together gives the most even result, but it is not essential. Add this to your starter and water, and mix until well combined. It is normal to be quite dry and hard to mix at this stage; this will change over time so do not add more water. Cover and leave to rest for 30 minutes.
After 30 minutes, do your first pull, stretch and fold method, then re-cover and let rest for another 30 minutes. Repeat this step two more times so you conduct the pull, stretch and fold method three times altogether, leaving 30 minutes rest between each.
Cover and leave to prove** until your dough has tripled in size, roughly 8-16 hours (depending on the temperature). If temperature is warm, this can occur within 8 hours, but if cold, this can take up to 16+ hours.
Once dough has reached desired size, dust your proving basket with a generous amount of rice flour and set aside.
Using rice flour, lightly flour your work bench or silicone baking mat. Scoop out your dough onto floured surface. Lightly flour your fingertips and pick up the dough edge furthest from you, pull up the edge of the dough, stretch slightly and fold into the middle of the dough towards you. Now grab the dough edge closest to you, pull up, stretch and fold into the middle away from you. Repeat this motion with the left and right side of the dough, so you have a tight folded square-like parcel.
Immediately lift your dough and place gently in your floured proving basket, the smooth bottom in first (the side that has been flat on your benchtop). Cover and let sit for 1 hour.
Meanwhile, preheat your oven to 240°C. Place Dutch oven in the oven (including lid) while preheating.
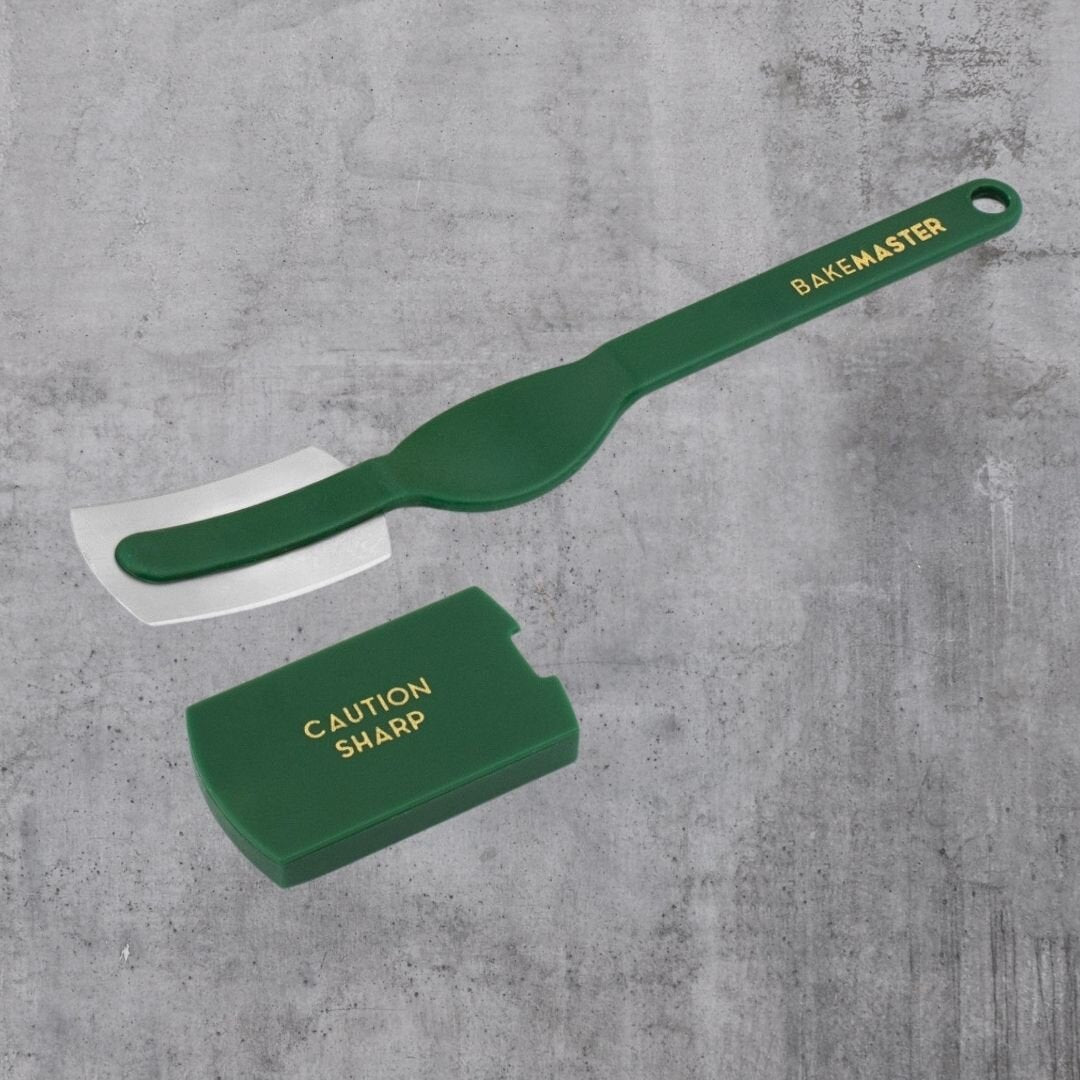
After your dough has rested for the hour in your proving basket, carefully remove your Dutch oven from the oven (it will be hot!) and heavily flour the bottom with rice flour. You want the whole base covered to ensure the dough doesn't stick. Wet one hand and tip dough out of basket onto that hand, then quickly place into your hot Dutch oven (work fast and don't worry if you ruin the shape a little; it will still look gorgeous when baked and, of course, be careful of your extremely hot Dutch oven!). Dust the top with rice flour ensuring all the dough is lightly covered, then score your bread.
Place lid on Dutch oven and return to oven (lid will still be hot!). Bake for 25 minutes.
Remove lid and continue to bake for another 20 minutes.
Remove from oven, then turn out the bread. I like to hold the pot with one protected hand and use a silicone spatula in the other to flip out the bread. Transfer bread to a cooling rack and let cool for minimum 40 minutes before slicing.
To finish
Enjoy! There's nothing better than your freshly baked sourdough, still warm out of the oven. The bigger and airier the holes, the better the loaf, but remember, just have fun with it! A thick slice while it is still warm, good butter or a slick of olive oil, and a sprinkle of Instant Italian Salt over the top is very hard to beat.
Notes
* You can buy rice flour or make your own - mill white rice for 3 minutes, speed 10 in your thermo cooker.
** Proving notes:
If it's cold and you want to speed up your proving so you can bake it within a 8-10 hours, there are two ways I like to create a warm environment - warm your oven up to 37C, turn off and then place your dough in there or fill good quality heatproof jars with boiling water and place in a fridge bag with your dough, this created a warmer environment for the dough to prove, or of course place your dough in a sunny spot or in a warmest room of your house. Never place your dough to prove on a hot surface such as a hot water bottle as you need the heat to be even around the dough not just underneath it.
If you want to slow your proving process down, at any point you can put it in the fridge. This is really handy to know as your dough might be rising quickly but you have to leave the house to go to work or run errands soon, pop it in the fridge and dramatically slow down how quickly it proves. If you do this you do not need to bring it back to room temperature before shaping and baking, you can bake the cold dough into delicious bread.
For more proving tips and tricks, see our Simple Sourdough Cookbook.
If you have any bread left after a few days (I doubt you will!), simply slice up and place in a reusable zip-lock bag and freeze. Grab a slice and toast from frozen. It will keep perfectly for up to 6 months.
If you have baked this loaf with our No-Nasty Bread Improver, you will find it stays soft on the bench for noticeably longer, so you may not need the freezer nearly as soon.
Frequently Asked Questions
Do I need to use the bread improver?
No. This loaf works exactly as written without it, and it has been a beautiful loaf for years without one. What the No-Nasty Bread Improver does is take a loaf you are already proud of and push it further: a deeper, more caramelised crust, a softer crumb, and a loaf that stays soft for longer instead of going hard by day two. Add one teaspoon in with the flour, and change nothing else.
Can I freeze sourdough bread?
Yes. Slice any leftover bread, place it in a reusable zip-lock bag and freeze, then toast slices straight from frozen. It will keep perfectly for up to 6 months.
How long does sourdough take to prove?
The bulk prove takes roughly 8-16 hours, depending on the temperature. In warm conditions the dough can triple in size within 8 hours, while in cold conditions it can take 16 hours or more. You can slow the prove at any point by popping the dough in the fridge, and you can bake the cold dough straight from the fridge.
Why is my sourdough not rising?
It is usually a matter of temperature. If it is cold, create a warm environment by warming your oven to 37C and turning it off before placing your dough inside, or move the dough to a sunny spot or the warmest room of your house. Never prove dough on a hot surface such as a hot water bottle, as the heat needs to be even around the dough, not just underneath it.
Do I need a sourdough starter for this recipe?
Yes, this recipe uses 100g of active sourdough starter. If you don't have one yet, read our sourdough starter guide, or find the starter recipe in the Simple Sourdough cookbook.
Is this sourdough recipe vegan?
Yes. This loaf is vegan, vegetarian, dairy free, egg free, soy free and nut free.
Ready to become a sourdough baker?
If this loaf hit the spot, you will love the foolproof recipes and techniques in Simple Sourdough. Everything you need to make sourdough baking simple, no matter your skill level.